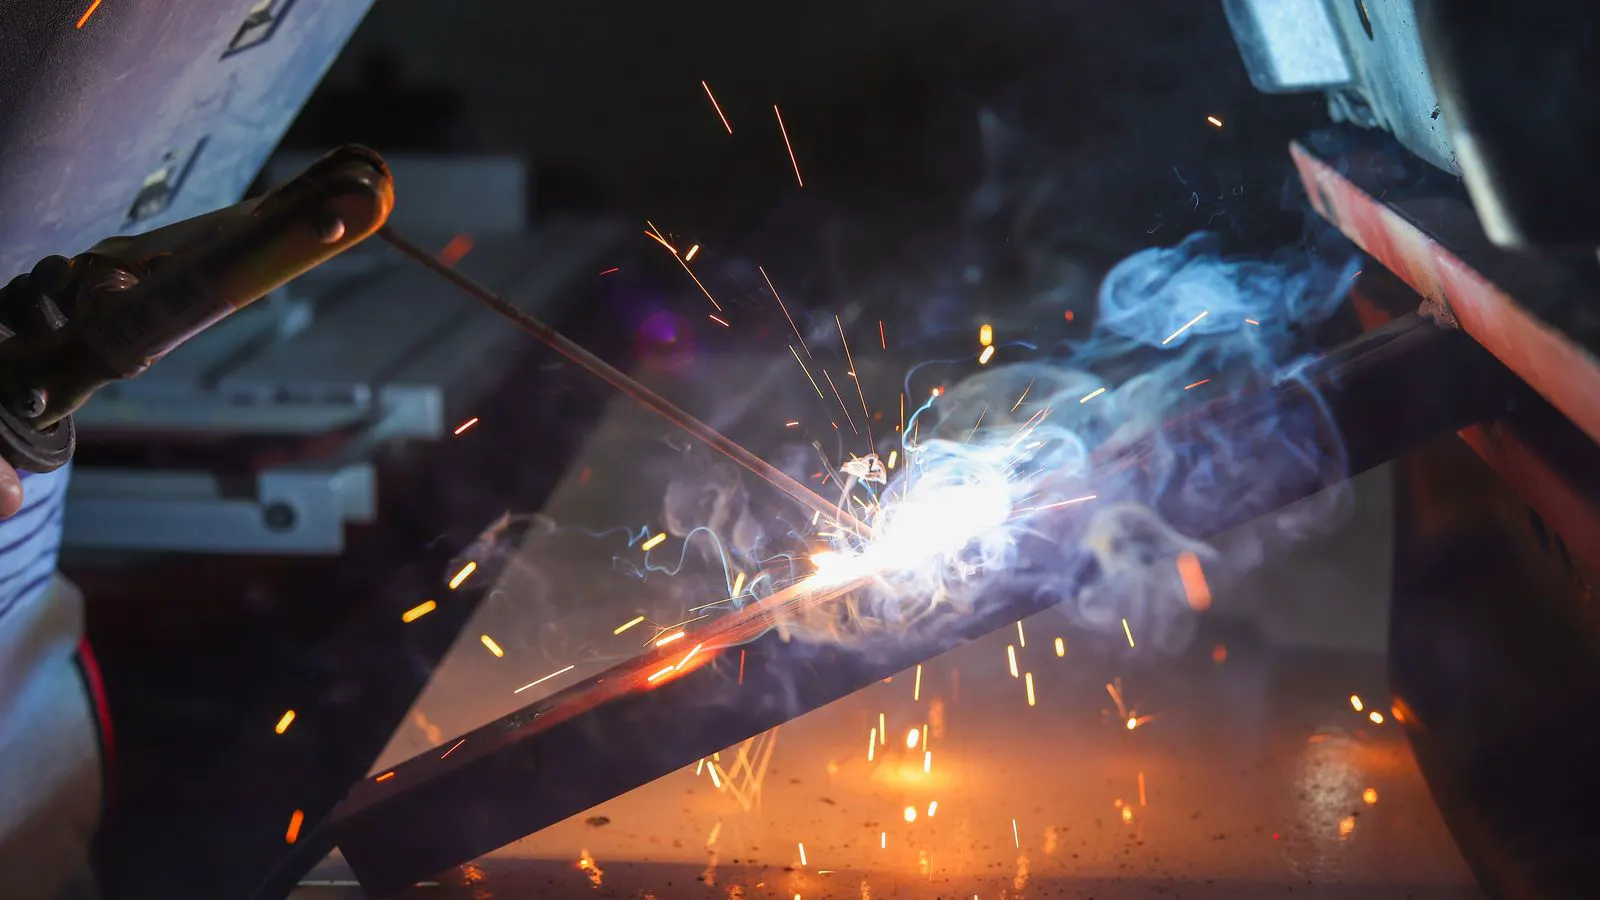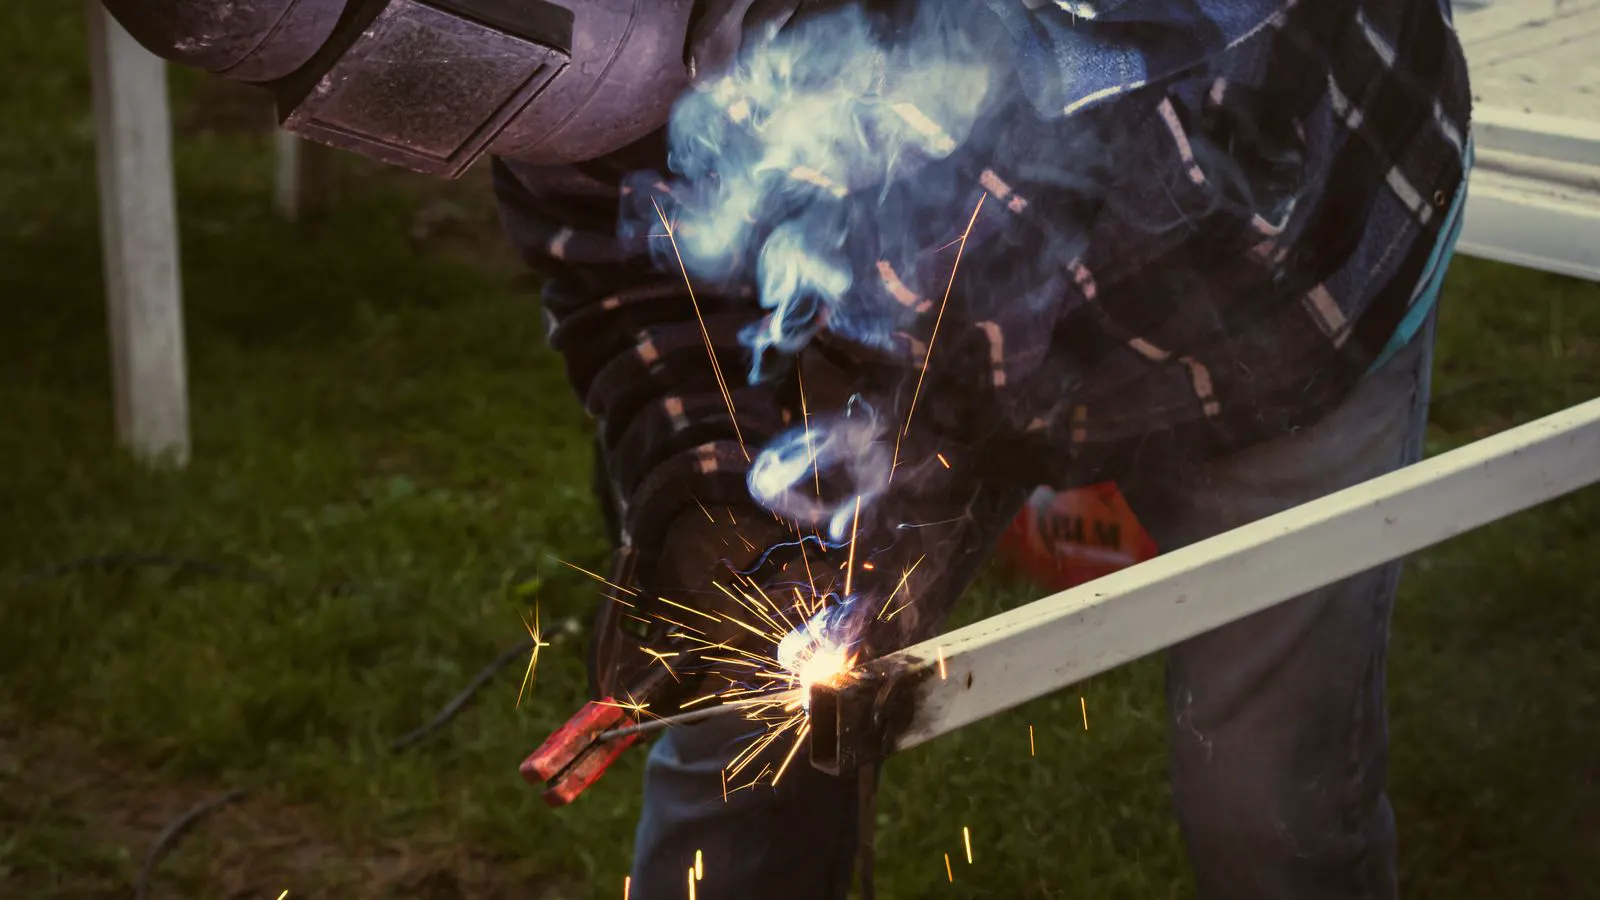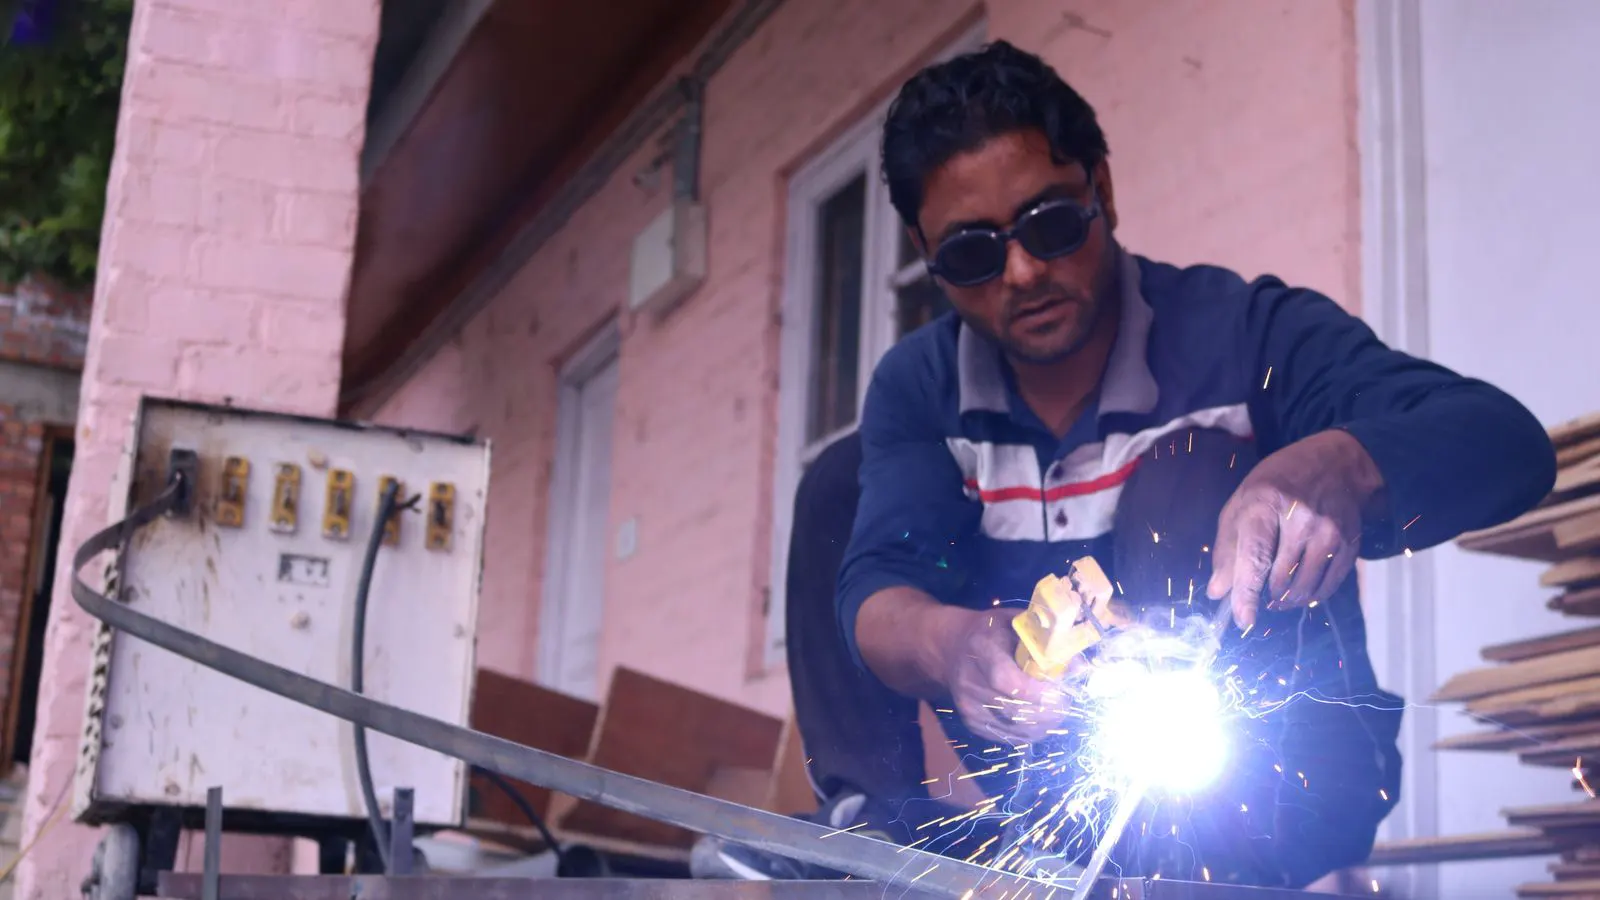
Proper TIG welding preparation involves cleaning, aligning, and clamping sheet metal parts. Correct fit-up and material conditioning reduce distortion, improve penetration, and prevent defects like porosity or lack of fusion in thin sections.
- Clean all rust, paint, and oil from the weld zone before striking an arc.
- Fit-up gaps and root pass angles must match the material thickness to control distortion.
- Use back purging or backing bars for stainless and aluminum to prevent oxide formation on the root side.
- Pre-heat thin sheet metal carefully to prevent warping without causing oxidation.
- Verify fit-up with a feeler gauge and visual inspection before welding.
Why Preparation Determines Weld Quality
TIG welding is a precision process. The welder controls heat input, gas flow, and travel speed manually. When the parts are poorly prepared, the welder cannot compensate. A dirty joint traps contaminants inside the molten pool. A misaligned joint forces the welder to chase the gap, creating uneven heat distribution. The result is a weak weld that distorts the part beyond recovery.
Sheet metal projects have unique demands. Thin sections heat quickly and cool fast. The material warps under thermal stress. If the edges are not aligned before the arc is struck, the final part will be out of square. Preparation is where you control that outcome. This guide covers the practical steps to prepare sheet metal parts for TIG welding, focusing on fit-up, cleaning, and alignment.
Assessing Material and Joint Design
Before touching a grinder or a clamp, look at the material. Stainless steel, aluminum, and mild steel each behave differently under a TIG arc. Aluminum oxidizes rapidly in air. Stainless steel requires back purging to prevent discoloration and loss of strength. Mild steel is more forgiving but still needs protection from rust and scale.
Check the joint geometry. A butt joint, a fillet weld, or a lap joint all require different preparation. For a butt joint in sheet metal, the edges must be square to each other. A 45-degree bevel may be needed for thicker sections, but for thin sheet, a square edge is common. The gap between the parts matters. Too much gap causes sagging. Too little gap prevents proper penetration.
Review the welding procedure specification if one exists. It defines the joint design, gap size, and back purge requirements. If no specification is available, rely on standard practice for the material thickness. A 1.5 mm sheet typically requires a 1.5 mm gap for a full penetration weld. Thicker material allows for a slightly larger gap.
Cleaning the Weld Zone
Contamination is the enemy of a clean TIG weld. Paint, oil, grease, and rust will burn into the molten pool. These contaminants create pores, weak spots, and discoloration. The rule is simple. Remove all surface contamination from a minimum of 10 mm on either side of the weld path.
Use a wire wheel or a flap disc on an angle grinder to remove paint and rust. For aluminum, use a dedicated stainless steel or aluminum wheel to avoid contaminating the workpiece with iron particles. A wire brush made of stainless steel is acceptable for stainless steel work, but it must be clean and used only on stainless. Never use a brush that has touched mild steel on a stainless part.
For oil and grease, use a solvent like acetone or a dedicated degreaser. Wipe the area with a clean cloth. Do not use a rag that has touched other chemicals. The solvent must fully evaporate before welding. A damp spot under the arc creates steam, which leads to porosity.
Fit-Up and Alignment
Fit-up is the alignment of parts before welding. In sheet metal, this is where distortion is controlled. If the parts are not flush, the weld will have an uneven root. The welder will pour more filler metal on one side to compensate. This creates a lopsided weld and excessive heat on one side of the part.
Use a square or a straight edge to check the edges. The gap should be uniform along the length of the joint. For a 2 mm gap, use a 2 mm feeler gauge at multiple points along the joint. If the gap varies, shim or adjust the parts before clamping. Do not weld with a gap that changes from 1 mm to 3 mm.
For lap joints, align the edges so they are flush. Use clamps or tack welds to hold the position. Tack welds should be small and spaced evenly. They should not be the final weld. They are only to hold the parts in place. If the parts shift during tack welding, remove the tacks and realign. Do not build up a bad position with tacks.
Controlling Distortion in Thin Sheet
Thin sheet metal warps under heat. The metal expands when heated and contracts when cooled. If the part is free to move, it will twist. Control this by using fixtures, clamps, or backing bars. A backing bar holds the root of the joint and prevents sagging. It also helps with back purging for stainless and aluminum.
For long joints, weld in short sections. Start at one end, tack, then weld a few centimeters. Move to the next section. This distributes the heat evenly. Do not weld the entire length in one pass. The heat will accumulate, and the part will bow.
Use a cooling cycle. Allow the metal to cool between passes. This reduces the thermal stress. For very thin sheet, consider pre-wetting the area with water to absorb heat. This technique, known as water quenching, is effective but must be done carefully to avoid steam explosions or uneven cooling.
Back Purging and Gas Shielding
The back side of the weld is just as important as the front. If oxygen reaches the molten pool from the back, it will oxidize the metal. For stainless steel, this causes a dark blue discoloration and weakens the weld. For aluminum, it creates a white oxide that is hard to remove and reduces strength.
Use argon or a helium-argon mix for back purging. The gas flows from the back side of the joint. A backing bar with a gas channel is a common setup. For aluminum, the gas must flow continuously from the start to the end of the weld. Stop the gas only after the weld has cooled. If you stop too early, the oxide will form on the hot metal.
Check the gas flow rate. Too little gas causes contamination. Too much gas causes turbulence, which pulls air into the joint. A flow rate of 10 to 15 cubic feet per hour is typical for TIG welding. Adjust based on wind and ambient conditions. In a drafty area, increase the flow or use a gas lens.
Common Mistakes in Preparation
The most common mistake is skipping the cleaning step. Welders often start the arc with paint or oil still on the joint. The weld looks fine on the surface, but it is full of pores. The part fails under load. Always clean before welding.
Another mistake is poor fit-up. Welders try to weld over a gap that is too large. The weld sags into the gap. The root is open, and the weld is weak. Adjust the gap before welding. If the gap is too small, grind the edge slightly to open it up. Do not force a tight joint.
Tack welding is another area of error. Tacks are too large or too close together. They create heat build-up and distortion. Use small tacks, spaced evenly. Do not use tacks as the final weld. They are only for holding position.
Verification Before Welding
Before striking the arc, perform a final check. Look at the joint. Is it clean? Is the gap uniform? Are the parts aligned? Check the gas flow. Is the back purge flowing? Check the workpiece ground. Is it clean and free of paint?
Use a feeler gauge to verify the gap. If the gap is not uniform, stop and adjust. Do not proceed with a bad fit-up. The welder will struggle to compensate, and the result will be poor.
Inspect the filler rod. Is it the correct alloy? Is it clean? For stainless steel, use a 308L or 316L rod matching the base metal. For aluminum, use 5356 or 4043 depending on the alloy. A contaminated or incorrect rod will compromise the weld.
Walk through the joint with your hand. Feel for any gaps or misalignments. If you feel a step, fix it before welding. The weld will highlight the flaw. A smooth joint produces a smooth weld.
Summary of Preparation Steps
The preparation process is a sequence of checks. Clean the material. Align the parts. Control the fit-up. Set up the gas shielding. Verify the joint. Each step builds on the last. If one step is skipped, the weld will suffer.
Use this checklist every time:
- Clean the weld zone of rust, paint, and oil.
- Check the joint geometry and gap size.
- Align the parts and clamp them in place.
- Set up back purging for stainless or aluminum.
- Verify gas flow and gas lens condition.
- Check the filler rod alloy and cleanliness.
- Perform a final visual and feeler gauge inspection.
This process takes time, but it saves time in the long run. A well-prepared part welds faster and produces a stronger result. The welder does not have to guess. The joint is ready. The heat input is controlled. The weld is predictable.
Table: Material-Specific Preparation Notes
| Material | Key Preparation Step | Why It Matters |
|---|---|---|
| Stainless Steel | Back purging with argon | Prevents oxidation on the root side |
| Aluminum | Cleaning with dedicated wheel | Removes iron contamination from steel |
| Mild Steel | Grinding rust and scale | Prevents porosity and lack of fusion |
| Copper | Back purging or backing bar | Prevents oxidation and heat sink issues |
Verification Checklist
Before welding, confirm the following:
- Gap size is uniform along the joint
- Surface is free of paint and oil
- Back purge is flowing correctly
- Gas flow rate is set
- Filler rod is clean and correct alloy
- Parts are clamped and aligned
If any item is not met, stop and fix it. Do not weld with a compromised setup. The cost of a bad weld is higher than the cost of proper preparation. The welder will produce a clean, strong joint. The part will perform as designed. The project will meet specifications.
Frequently asked questions
How much gap is needed for TIG welding sheet metal?
A typical gap for thin sheet metal is equal to the material thickness. For 1.5 mm sheet, use a 1.5 mm gap. Adjust for thicker materials.
Can I weld sheet metal without back purging?
For mild steel, back purging is not always required. For stainless and aluminum, it is necessary to prevent oxidation on the root side.
How do I clean aluminum before TIG welding?
Use a dedicated stainless steel or aluminum wire wheel. Avoid using a wheel that has touched mild steel to prevent iron contamination.
What is the best way to prevent distortion in thin sheet?
Use clamps, backing bars, and short weld sections. Allow the metal to cool between passes to reduce thermal stress.
How do I check if the joint is ready for welding?
Use a feeler gauge to check the gap. Inspect the surface for contamination. Verify the gas flow and back purge. Ensure the parts are aligned.