Powder coating peeling troubleshooting starts with inspecting the substrate and cure process. Common root causes include inadequate cleaning, improper baking, and coating contamination. Corrective actions focus on improving surface preparation and process control.
- Surface preparation is the primary driver of coating adhesion and long-term performance.
- Cure temperature and time must match the coating specification to avoid soft or under-baked films.
- Contamination from oils, solvents, or dust can cause immediate adhesion failure.
- Documenting process parameters and performing regular adhesion tests helps prevent recurrence.
- Selecting the right coating system for the material and application conditions reduces maintenance needs.
Understanding the Problem
Powder coating is a durable finish, but it fails when the surface it bonds to is compromised or the cure process is incomplete. Peeling and chipping on fabricated parts usually point to a breakdown in one of three areas: substrate preparation, coating application, or curing. Engineers and buyers often see these defects after installation, but the root cause almost always exists at the shop floor before the part leaves the facility.
The goal of troubleshooting is to separate visible symptoms from the mechanical reason they occur. A chip near an edge may look like damage, but it often traces back to a weak bond created during cleaning. A broad area of lifting may indicate a cure failure rather than a cleaning issue. Accurate diagnosis prevents repeated purchases of defective parts and shortens the path to a reliable supply chain.
Common Defects and Their Causes
The table below maps typical symptoms to their most common causes and the corrective actions that address them directly. Use this as a starting point when reviewing a failed lot with the coating supplier.
| Symptom | Likely cause | What to do |
|---|---|---|
| Small chips or flakes near edges and corners | Mechanical damage during handling or too thick a film in high stress areas | Reduce film thickness in those zones. Add protective packaging. Inspect tooling for sharp edges. |
| Large areas of lifting or flaking | Inadequate surface cleaning or oil contamination | Re-clean using a verified solvent process. Check for hand oils, cutting fluids, or release agents. |
| Coating remains soft or does not cure | Oven temperature too low or dwell time too short | Verify oven calibration. Increase bake time or temperature to match the coating data sheet. |
| Blistering or bubbles under the film | Trapped moisture, solvents, or gas during cure | Ensure parts are fully dry. Check for residual solvents in the cleaning bath. Improve air circulation in the oven. |
| Hazy, dull, or uneven finish | Contaminated powder or improper application | Inspect powder for clumping or contamination. Check gun pressure and distance. Verify hopper drying conditions. |
| Cracking or crazing on the surface | Film too thick or cure too fast | Reduce application thickness. Adjust cure profile to allow slower hardening. Check for excessive heat. |
These symptoms are not always isolated. A part can suffer from both poor cleaning and an under-baked cure, which makes diagnosis harder. When multiple defects appear on the same lot, focus on the process that changed most recently. Was the cleaning solvent changed? Did the oven schedule shift? Was a new powder lot introduced?
Surface Preparation: The Foundation of Adhesion
The most common cause of powder coating failure is poor surface preparation. The coating must bond to clean metal, not to dust, grease, or mill scale. On carbon steel, rust and scale create a barrier that prevents proper bonding. On stainless steel, passivation and cleaning are equally critical to prevent corrosion beneath the film. Aluminum requires special attention to its oxide layer, which can form quickly and resist adhesion if not treated.
Before coating, parts should go through a mechanical or chemical cleaning step. Shot blasting removes loose scale and provides a profile that helps the powder grip the surface. Chemical cleaning, such as an alkaline wash, removes oils and light scale. The choice depends on the material, the part geometry, and the required surface profile. A rough, clean surface generally provides better mechanical keying than a smooth, dirty one.
A practical check is the water drop test. Place a drop of water on a cleaned surface. If it beads up immediately, oils or contaminants are still present. If it spreads and wets the surface, the clean is likely adequate. This simple test should be performed on a sample from each production batch before it enters the oven.
Curing and Oven Control
Curing transforms the powder from a loose particulate into a continuous, hard film. The powder contains a resin that requires specific heat and time to cross-link. If the part does not reach the required temperature for the necessary duration, the film remains soft, tacky, or weak. This leads to peeling, scratching, and poor chemical resistance.
Oven calibration is a frequent source of hidden errors. Thermocouples drift over time. Hot spots develop in the chamber. Airflow patterns change as parts are loaded differently. A part in a cold corner of the oven may cure for half the required time without anyone knowing. Regular calibration using a certified reference thermometer should be part of the quality plan.
The cure profile must match the powder manufacturer’s instructions. Some coatings cure at lower temperatures for longer times. Others require higher heat for a shorter period. Deviating from these specifications to meet production speed often results in defective films. If the oven cannot hold the required temperature uniformly, consider smaller batch sizes or a different oven design.
Application Thickness and Uniformity
Film thickness directly affects coating performance. Too thin a film lacks the chemical resistance and mechanical strength needed for the application. Too thick a film increases the risk of cracking, crazing, and poor cure, because the surface may harden before the core reaches the required temperature.
The target thickness is usually specified in the engineering drawing or the coating standard. For general industrial parts, a range of 60 to 100 microns is common, but this varies by application. Heavy chemical exposure may require a thicker film. Fine detail work may require a thinner one to avoid obscuring features.
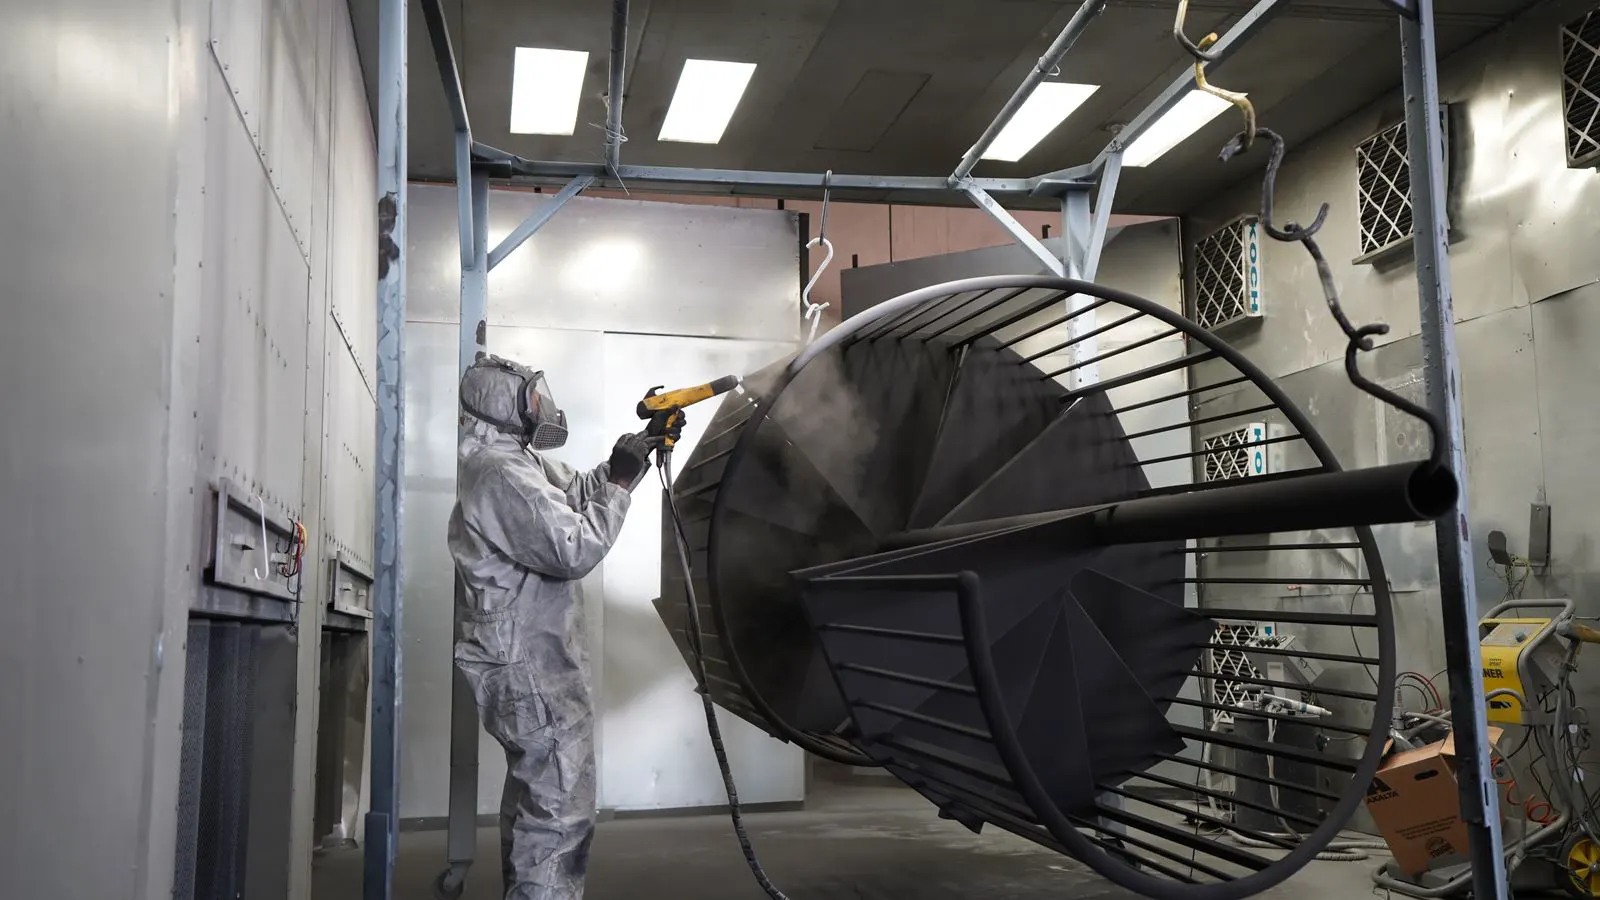
Uniformity is as important as total thickness. Edges, corners, and recesses often receive different amounts of powder than flat surfaces. Overspray can build up in cavities. Under-spray can leave thin spots on sharp edges. Using a micrometer or a magnetic thickness gauge allows operators to verify coverage at multiple points on each part. Keeping records of these measurements helps identify trends and catch application problems early.
Contamination and Environmental Factors
Contamination is a sneaky cause of coating failure. Oils, solvents, dust, and moisture can all interfere with adhesion or cure. Hand oils from operators, cutting fluids from machining, and release agents from forming operations are common culprits. Even small amounts can create a weak boundary layer between the metal and the coating.
The environment where the part is stored before coating matters. If a cleaned part is left in a dusty area, it will re-contaminate. If it is stored in a humid environment, moisture can condense on the surface. Parts should be moved from cleaning directly to the coating booth or stored in a controlled area.
Powder itself can be a source of contamination. If the powder is stored in a humid environment, it can absorb moisture and clump. Clumped powder does not flow well and can create uneven films. It can also contain water, which causes blistering during cure. Powder should be stored in a dry, temperature-controlled environment. The hopper and gun lines should be checked for moisture and blockages.
Preventive Measures and Quality Control
Preventing coating defects is less expensive and less disruptive than troubleshooting them after production. A structured quality control plan should cover every step of the process. This includes incoming inspection of the powder, verification of cleaning procedures, monitoring of oven temperature, and measurement of film thickness.
Adhesion testing is a reliable way to verify that the coating is bonding properly. A cross-cut test, where a grid is cut into the film and tape is pulled to remove the coating, gives a quick indication of adhesion quality. A more rigorous test involves a pull-off adhesion test, which measures the force required to remove a specific area of coating. These tests should be performed at the start of production and at regular intervals.
Documenting the process is critical. Record the cleaning solvent used, the cleaning time, the oven temperature, the cure time, and the powder lot number. When a defect appears, these records allow for rapid root cause analysis. Without them, troubleshooting becomes guesswork, and the same problem will likely recur.
Training is another layer of defense. Operators should understand why each step matters. A cleaner who skips a rinse may not realize that the residual solution will cause blistering. An oven operator who lowers the temperature to save energy may not realize that the film will remain soft. Clear instructions and regular training reinforce the importance of process control.
When to Call the Supplier
If defects persist after internal corrective actions, the problem may lie in the powder coating supplier. The powder may be defective, the wrong resin type may have been selected for the application, or the cure profile may be incompatible with the part geometry.
When contacting the supplier, provide specific details. Include photographs of the defects, the part material, the cleaning process used, the oven parameters, and the powder lot number. The more data you provide, the faster the supplier can diagnose the issue. A simple “the coating is peeling” is not enough. Specifics lead to specific solutions.
The supplier should be able to provide a technical data sheet for the powder, which includes the recommended cure temperature, time, and film thickness. It may also include adhesion test results and chemical resistance data. Reviewing this document helps ensure that the process is being executed correctly.
Final Thoughts
Powder coating peeling troubleshooting is a systematic process. It starts with careful observation of the defect and moves through inspection of the surface preparation, application, and cure steps. Most failures can be traced to one of these three areas. By implementing preventive measures and maintaining strict quality controls, buyers and engineers can significantly reduce the risk of coating defects and ensure a durable, reliable finish for their sheet metal products.
Frequently asked questions
What is the most common cause of powder coating peeling?
Poor surface preparation is the leading cause. Oils, dirt, and scale create a barrier that prevents the coating from bonding to the metal.
How can I tell if my powder coating is under-baked?
An under-baked film feels soft, tacky, or easily scratched. It may also show a dull, matte appearance instead of a hard, glossy finish.
Does the metal grade affect powder coating adhesion?
Yes. Aluminum and stainless steel require specific cleaning and surface treatment to ensure proper adhesion. Carbon steel must be free of rust and scale.
How thick should a powder coating be?
The required thickness depends on the application. General industrial parts typically range from 60 to 100 microns, but heavier service may require more.
Can I prevent coating defects by changing the supplier?
Not necessarily. Most defects are process-related. Changing suppliers may help if the powder is defective, but fixing the internal process is usually more effective.