Proper stainless steel powder coating prep requires thorough degreasing, mechanical or chemical etching, and passivation. Skipping these steps causes poor adhesion and early finish failure. This workflow ensures a durable, uniform coating on sheet metal parts.
- Stainless steel resists adhesion due to its passive oxide layer, so passive oxide must be broken before powder application
- Degreasing is the most common failure point, and hydrocarbons, oils, and fingerprints all cause pinholes
- Passivation after etching stabilizes the substrate and prevents flash rusting before powder is applied
- A final wipe-down and visual inspection catch most defects before they become expensive rework
- The specific etch chemistry and passivation method depend on whether the part is 300-series or 400-series stainless
Why Stainless Steel Differs From Other Substrates
Stainless steel is not a forgiving substrate. Its natural chromium oxide layer is dense, stable, and chemically inert. That same layer that protects the metal from corrosion also makes it difficult for powder to bite into the surface. Carbon steel, aluminum, and galvanized steel all have surface characteristics that powder coating systems are designed to handle without aggressive prep. Stainless does not.
The powder coating process is a thermal process. The powder melts and flows, but adhesion depends entirely on what happens before the part enters the oven. If the surface is not properly prepared, the coating will look fine on day one and fail within months. The failure modes are consistent: pinholes, lifting at edges, blistering in high-stress areas, and chalky or powdery coating that rubs off with a finger.
The workflow below assumes the part has already been fabricated and finished mechanically. It covers the sequence from receiving the sheet through the final verification before powder application. The goal is a surface that the powder will bond to mechanically and chemically, and that will resist corrosion underneath the coating.
Prerequisites Before You Start
Before any chemical or mechanical prep work begins, the part must be in a state that allows the preparation to do its job. This is where most jobs go wrong. The part arrives at the coating stage with grease, machining oil, handling residue, or surface contamination that no etch will remove.
The first prerequisite is a documented surface condition. The fabrication shop should have a record of what the part was exposed to during forming, cutting, welding, or machining. A laser-cut part that went through a cutting fluid bath is not the same as a press-formed part that was handled with bare hands. The prep chemistry and contact time must be matched to the contamination level.
The second prerequisite is temperature. Stainless steel should be at ambient temperature when chemicals are applied. Cold metal causes uneven reaction, and the etch will not penetrate uniformly. The third is a clean, ventilated area. Etch and passivation chemicals release fumes that are not pleasant to work around, and they can contaminate nearby parts if not contained.
The fourth prerequisite is the right PPE. Chemical splash goggles, nitrile or neoprene gloves, and a respirator if the fumes require it. These are not optional. The chemicals are caustic or acidic, and they do not forgive a missed spot on the skin.
Step 1. Remove All Contaminants
The first physical step is degreasing. This is not optional. Stainless steel does not hold hydrocarbons as aggressively as some other metals, but it holds them well enough to cause catastrophic coating failure. Oils, waxes, cutting fluids, mold release, handling oils, and even skin oils from handling are all contaminants.
Degreasing can be done with a solvent wipe, a dedicated degreaser, or an alkaline cleaner. The choice depends on the volume and the type of contamination. A small batch of parts can be handled with a solvent wipe and lint-free cloth. A production run of hundreds of parts is better handled in a degreasing bath or a high-pressure alkaline wash.
The reason for this step is simple. Powder coating is an electrostatic process. The powder charges as it is sprayed, and it bonds to the part by electrostatic attraction and thermal fusion. If there is a film of oil between the powder and the metal, the powder sits on top of the oil. When it melts, it fuses to itself, but it does not bond to the metal. The result is a coating that flakes off with minimal force.
The practical check is a wipe test. After degreasing, wipe a small area with a clean lint-free cloth and a solvent. If the cloth picks up any color, any sheen, or any residue, the part is not clean. Repeat the degreasing until the wipe is clean. This step takes longer than most people want to spend, but it is the step that prevents the most common coating failures.
Step 2. Remove the Passive Oxide Layer
The passive oxide layer on stainless steel is a thin, dense film of chromium oxide that forms within seconds of exposure to air. It is what makes stainless corrosion resistant. It is also what makes it resistant to coating.
This layer must be removed or broken down before powder application. There are two main approaches. The first is mechanical, using abrasive blasting, sanding, or mechanical abrasion. The second is chemical, using an etch solution that dissolves or converts the passive layer.
Mechanical prep is effective but creates a lot of waste. Abrasive blasting generates metal dust and abrasive media that must be contained and disposed of properly. It also creates a rougher surface that changes the final finish appearance. For high-visibility parts, mechanical prep is often not the right choice.
Chemical etching is more common for sheet metal parts. The etch is applied, left for a specified contact time, and then rinsed. The etch chemistry depends on the stainless grade. 300-series stainless, which includes 304 and 316, responds to a different etch chemistry than 400-series martensitic stainless, which includes 410 and 430. The supplier of the etch will provide the specific formulation and contact time for the grade in use.
The reason for this step is to create a surface with enough chemical activity and mechanical tooth for the powder to bond to. The etch breaks down the passive layer and creates a slightly roughened, chemically active surface. This surface will not hold the passive oxide that would otherwise prevent bonding.
Step 3. Rinse Thoroughly After Etching
After the etch has done its work, it must be removed. Leftover etch chemistry on the surface will continue to react with the metal. It can also react with the passivation step that follows. It can even react with the powder itself during the baking cycle, causing discoloration, pinholes, or blistering.
The rinse is not a single pass. It is a sequence. The first rinse is a running water rinse to remove the bulk of the etch. The second rinse is with deionized or distilled water to remove dissolved metals and salts that tap water would leave behind. The third rinse is with a dedicated rinse solution, sometimes called a neutralizing rinse, to stop any residual chemical reaction.
The reason for this step is control. The etch is doing its job for a specific period. After that period, it is no longer useful. It is just contamination. The rinse removes it completely. The deionized rinse prevents mineral deposits from forming on the surface. The neutralizing rinse prevents the surface from continuing to react with ambient moisture and air.
The practical check is a rinse water test. The last rinse water should be clear, not cloudy, and should not carry a strong chemical odor. If it does, the rinse is not done. The part is not ready for passivation until the rinse is complete.
Step 4. Apply Passivation
Passivation is the step that most people skip, and it is the step that causes the most long-term problems. Passivation does not remove the passive oxide layer. It restores and stabilizes it. After etching, the surface is chemically active and vulnerable. It will start to form a new oxide layer within minutes of exposure to air.
Without passivation, that new oxide layer will be uneven and unstable. It will form at different rates on different areas of the part. It will be thicker in some spots and thinner in others. It will also be more susceptible to contamination from the environment. The result is a surface that is not uniform, and a coating that will not bond uniformly.
Passivation is a chemical treatment. It is applied to the rinsed surface and left for a specified contact time. The passivation chemistry is different from the etch chemistry. It is designed to promote the formation of a dense, uniform, and stable chromium oxide layer. The specific formulation depends on the stainless grade and the required service environment.
The reason for this step is to give the powder a stable, uniform substrate. The passivated surface is chemically consistent. It will not continue to react unpredictably during the baking cycle. It will not flash rust. It will provide a uniform bonding surface for the powder.
The practical check is visual. The passivated surface should look uniform. It should not show patches of different color or texture. If it does, the passivation was not applied evenly or the contact time was not consistent. The part should be re-passivated.
Step 5. Final Rinse and Dry
After passivation, the part needs one final rinse. This removes the passivation chemistry and any residual salts or contaminants. The rinse should be with deionized water to prevent mineral deposits.
The part must then be dried. This is not a trivial step. If water remains on the surface when the powder is applied, it will flash off during the baking cycle. The rapid expansion of water vapor can cause pinholes, blisters, or even coating lifting. The water vapor can also react with the powder and create discoloration.
The drying method depends on the part size and the production volume. Small parts can be dried in a low-temperature oven. Larger parts can be dried with compressed air, but the air must be oil-free and dry. A dedicated drying area with controlled humidity is ideal.
The reason for this step is to ensure the surface is completely dry before powder is applied. The powder needs to bond to a dry, clean, passivated surface. Water is the enemy of that bond.
Step 6. Powder Application and Baking
The powder application and baking steps are standard to any powder coating operation. The specific details depend on the coating system in use. The key point here is that the prep work done in the previous steps determines the quality of this step.
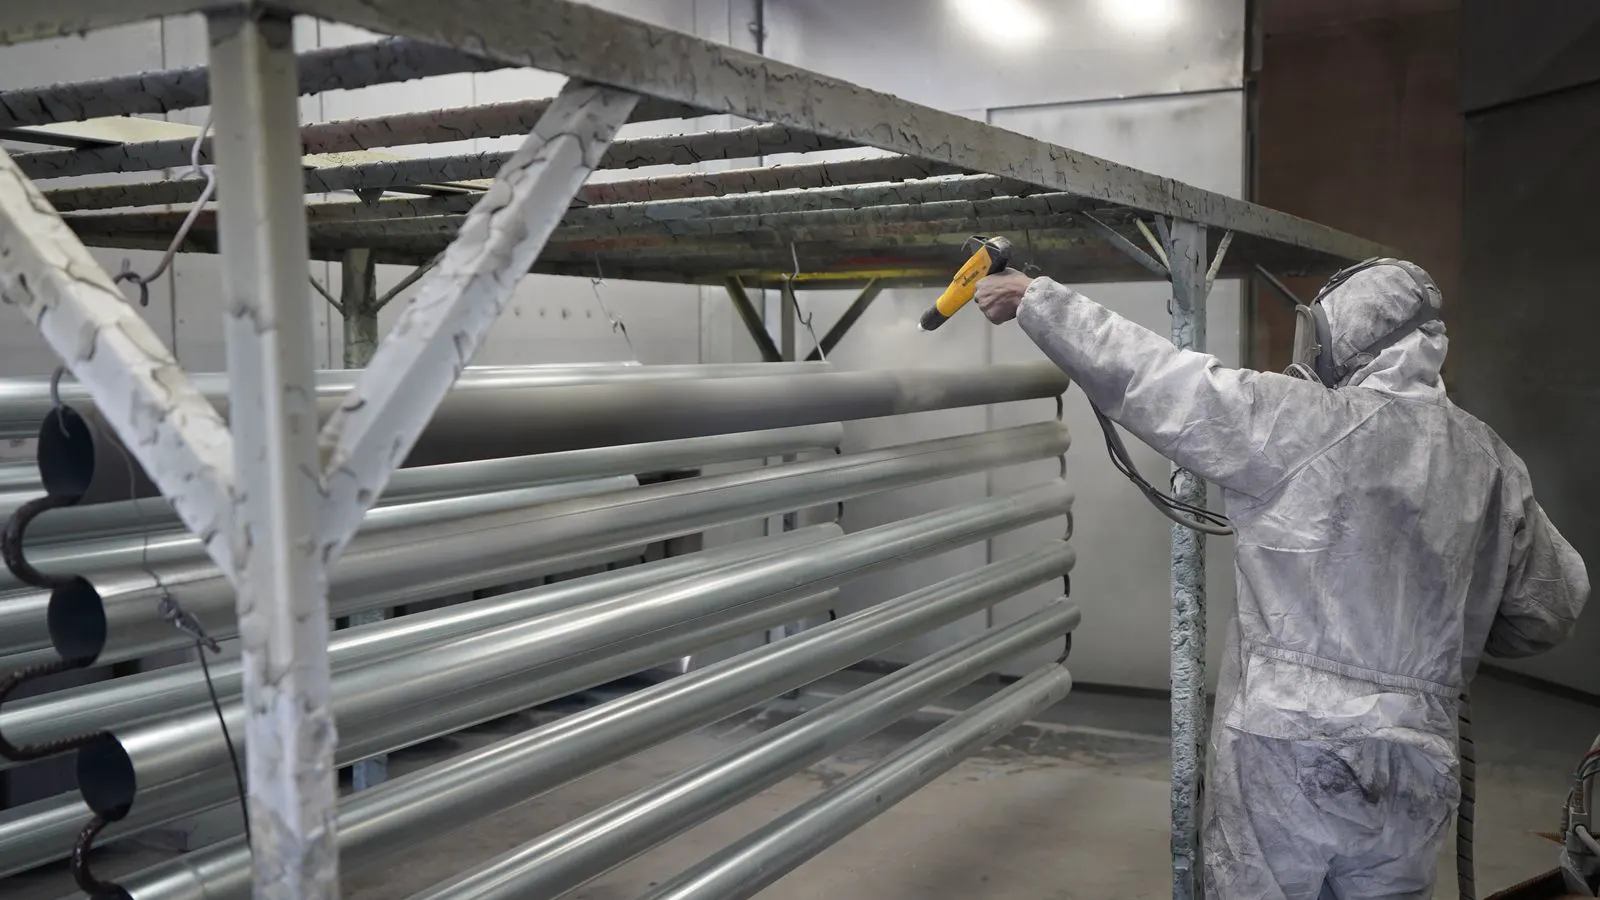
The powder is applied to the part using an electrostatic gun or a fluidized bed. The thickness of the coat is controlled by the operator and the equipment. The part is then baked at the temperature specified by the powder supplier.
The reason for this step is to cure the powder. The powder melts, flows, and fuses into a continuous film. The cure temperature and time are critical. Undercure leaves the coating soft and prone to damage. Overcure can cause discoloration or degradation of the coating.
The practical check is a cure test. After baking, the coating should be hard, glossy, and free of soft spots. A fingernail scratch test can reveal if the cure is complete. If the coating is still soft or tacky, the bake cycle was not sufficient.
Common Mistakes That Cause Coating Failure
The most common mistake is skipping or rushing the degreasing step. People see the part look clean and assume it is clean. It is not. Oils and contaminants are invisible, and they are the most common cause of early coating failure.
The second most common mistake is using the wrong etch chemistry for the stainless grade. A 304 stainless part treated with a 410 stainless etch will not get the proper surface preparation. The contact time will be wrong. The resulting surface will not be uniform. The coating will fail.
The third mistake is skipping passivation. The part looks fine after etching and rinsing. The powder is applied. The coating looks great. Six months later, it starts to lift. The cause was the unstable oxide layer that formed after the etch. Passivation would have prevented that.
The fourth mistake is poor drying. Water left on the surface causes pinholes and blisters. The part looks fine on the bench, but the coating has defects that were not visible until the part was in service.
The fifth mistake is not matching the prep to the part geometry. Thin edges, sharp corners, and complex formed sections are harder to prep evenly. The etch may not penetrate into a tight radius. The rinse may leave residue in a recessed area. The passivation may not cover a shadowed area. These areas need special attention.
Final Verification Before Shipping
The final step is a visual and tactile inspection of the finished part. This is not a formality. It is the last chance to catch a problem before the part leaves the shop.
Inspect the coating for pinholes, blisters, runs, dry spray, and orange peel. Check the edges and corners for lifting. Run a fingernail across the surface. It should not catch or peel. Check the color for uniformity. Check the thickness if the part has a thickness specification.
The reason for this step is to catch defects before they become customer complaints. A defect caught on the bench is a small cost. A defect caught in the field is a large cost. The inspection is the final verification that the prep work was done correctly and the coating will perform as expected.
If a defect is found, the part must be returned to the appropriate prep step. A pinhole caused by contamination means the degreasing was not complete. The part must be degreased again, re-etched, re-passivated, and re-coated. There is no shortcut. The defect must be addressed at the source.
The final verification is not just about the coating. It is about the entire workflow. If the same defect appears repeatedly, the problem is upstream. The prep process needs to be reviewed. The chemistry needs to be checked. The contact times need to be verified. The drying needs to be confirmed. The final inspection is the feedback loop that keeps the process working.
Quick Reference: Prep Steps at a Glance
| Step | Purpose | Common Failure Mode |
|---|---|---|
| Degreasing | Remove oils, waxes, cutting fluids, handling residue | Coating lifts or flakes off within weeks |
| Etching | Break down passive oxide layer | Poor adhesion, pinholes, blistering |
| Rinsing | Remove etch chemistry and dissolved metals | Discoloration, chemical reaction during bake |
| Passivation | Restore stable, uniform oxide layer | Flash rust, uneven bonding, early failure |
| Drying | Remove residual moisture | Pinholes, blisters, coating lifting |
| Powder Application | Apply electrostatically charged powder | Dry spray, runs, uneven thickness |
| Baking | Cure the powder into a solid film | Soft coating, tackiness, undercure |
| Final Inspection | Verify coating quality and adhesion | Undetected defects ship to customer |
When to Use a Different Approach
Not every stainless steel part needs the same prep. A small decorative part with a high-visibility finish may benefit from a more aggressive mechanical prep to achieve a uniform matte texture. A large structural part in a corrosive environment may need a more robust chemical prep to ensure long-term adhesion and corrosion resistance.
The approach also depends on the powder coating system. Some powder systems are designed to bond to passive stainless surfaces without aggressive etching. These systems rely more on the chemical composition of the powder and the bake profile. If the powder supplier specifies a reduced prep process, follow that specification. The prep is not one-size-fits-all. It is matched to the powder, the stainless grade, and the service environment.
When in doubt, test a small sample. Apply the full prep workflow to a scrap piece of the same stainless grade. Apply the powder. Bake it. Test the adhesion. Test the corrosion resistance. If the sample passes, the workflow is correct. If it fails, the workflow needs adjustment. The cost of a scrap test is small. The cost of a failed production run is large.
The stainless steel powder coating prep workflow is not complicated. It is sequential. It is chemical. It is controlled. It requires the right chemistry, the right contact time, the right rinse, and the right verification at each stage. Skip a step, and the coating will fail. Do the work correctly, and the coating will last. The difference is not in the powder. It is in the prep.
Frequently asked questions
Can I powder coat stainless steel without any surface preparation?
No. Stainless steel has a passive oxide layer that prevents proper adhesion. Without etching and passivation, the coating will lift or fail within a short period.
What is the difference between etching and passivation on stainless steel?
Etching removes or breaks down the passive oxide layer to create a chemically active surface. Passivation restores and stabilizes the oxide layer after etching to create a uniform, stable substrate for the powder.
Does the stainless grade affect the prep process?
Yes. 300-series and 400-series stainless steel respond differently to etch and passivation chemistries. The specific formulation and contact time must be matched to the grade.
How long should I expect the prep process to take?
The time depends on the part size, the contamination level, and the specific chemistries used. A small part may take 30 to 60 minutes total. A large production run will take longer due to bath times and rinse times.
What happens if I skip the drying step?
Water left on the surface will flash off during the baking cycle. The rapid expansion of water vapor causes pinholes, blisters, and coating lifting. The part will not pass final inspection.