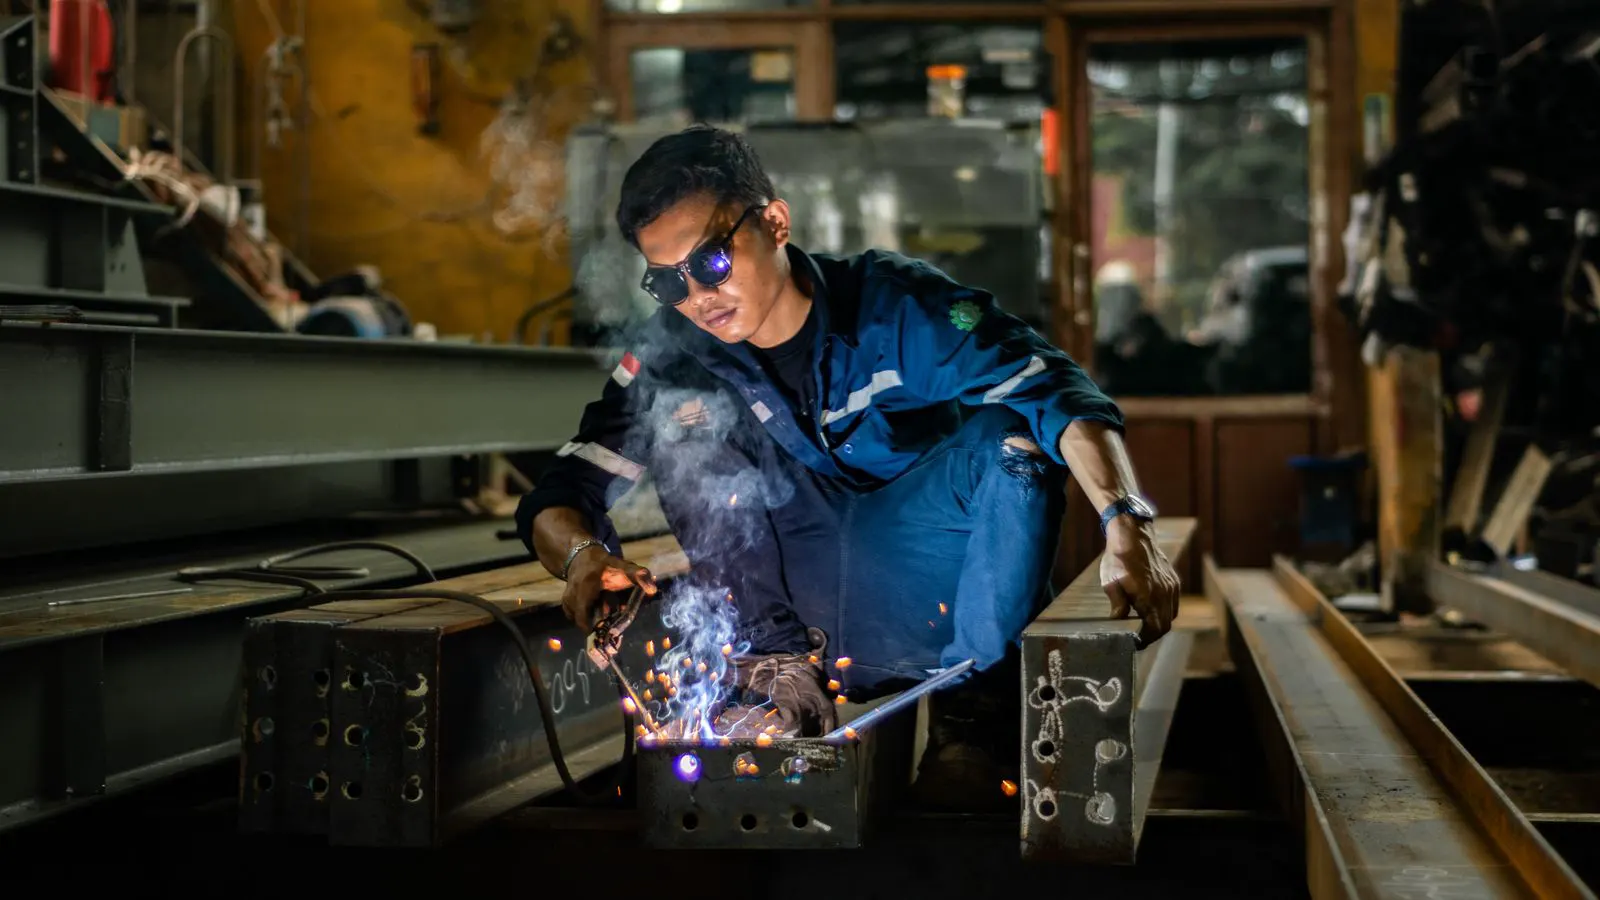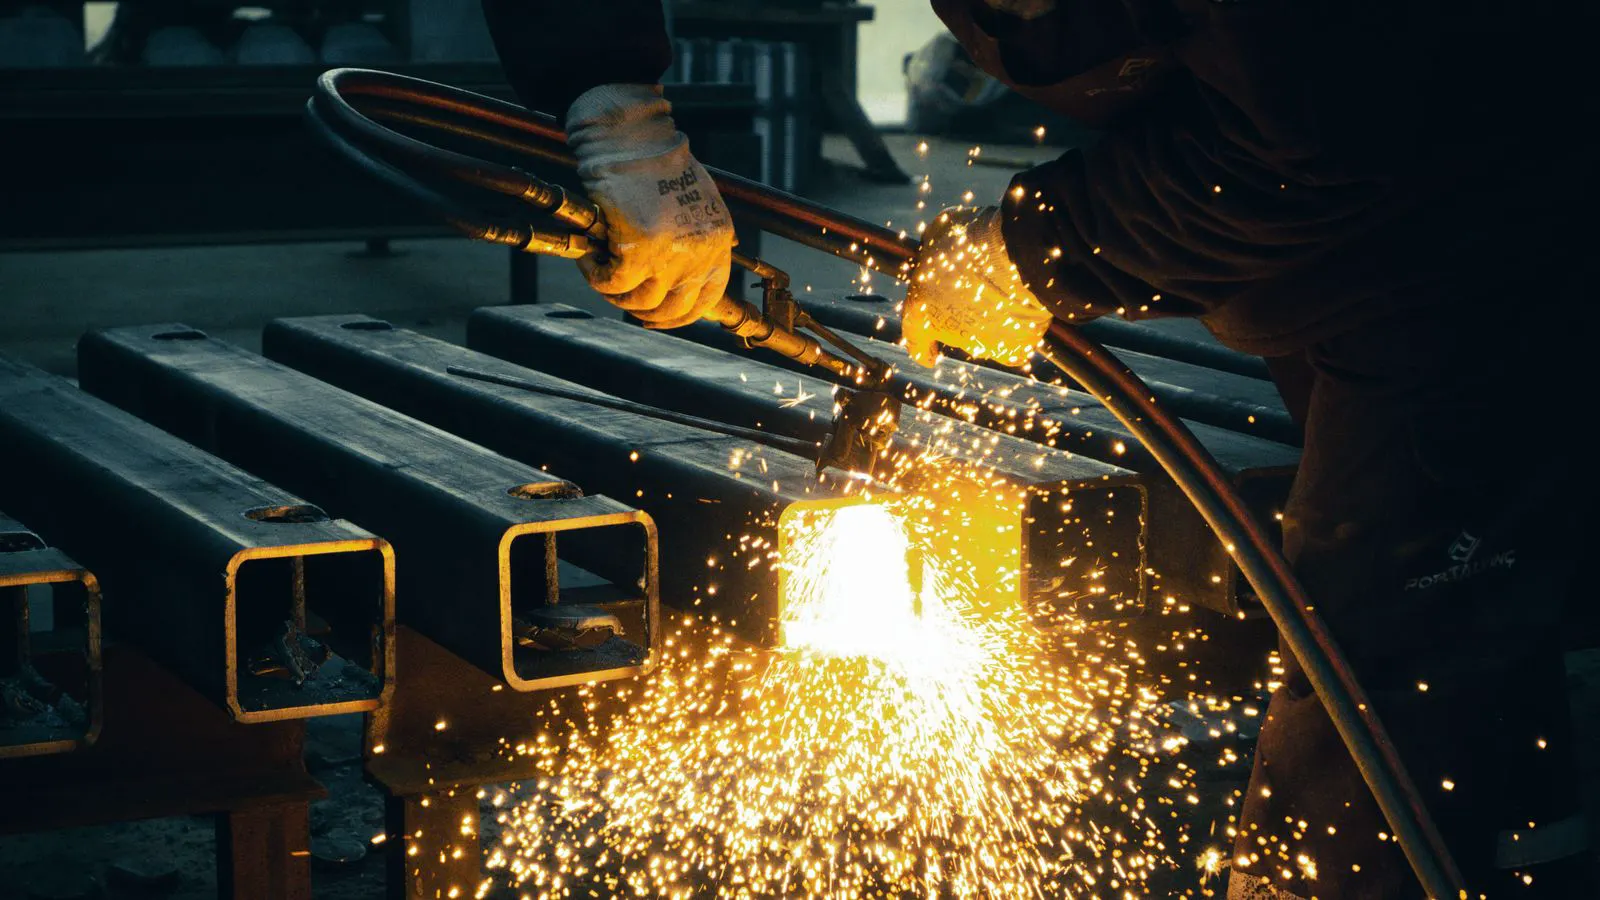
Prepare sheet metal for TIG by cleaning surfaces, aligning joints with fixtures, and adjusting the TIG welding setup. Thin sheet requires low heat, proper fit-up, and constant gas flow to avoid burn-through and poor penetration.
- Clean every surface with a dedicated TIG brush and degreaser to remove oils and oxides.
- Use a fixture or jig to hold thin sheet in position and prevent warping.
- Adjust your TIG welding setup with low amperage and fast travel to prevent burn-through.
- Check fit-up gaps and alignment before striking the arc.
- Verify the joint after welding to ensure full fusion and no distortion.
Why Preparation Matters for Thin Sheet TIG Welds
Thin sheet metal behaves differently than plate or bar stock. It conducts heat quickly, but it also distorts fast when exposed to concentrated arc energy. A TIG weld on 0.5mm stainless steel or aluminum will fail if the surface is dirty or the joint is loose.
The goal of sheet metal TIG preparation is to create a stable, clean joint that accepts heat evenly. This reduces the risk of porosity, undercut, and burn-through. It also makes the final weld look professional and pass visual inspection.
This section covers the exact steps a fabricator or buyer should verify before a TIG weld is struck. Each step has a reason. Skipping one creates a specific failure mode.
Prerequisites and Tools Required
Before touching the metal, confirm that the right tools are available. You need a TIG welder with AC capability for aluminum or DC for steel. You need a suitable filler rod that matches the base metal. You need shielding gas, usually argon for steel and aluminum, or a helium mix for thicker sections.
You also need cleaning tools. A dedicated TIG grinding wheel, a stainless steel wire brush, a degreaser, and a clean rag are the minimum. Do not use a brush that has been used on steel on aluminum. Contamination transfers and causes porosity.
Fixture tools are critical for thin sheet. A jig, clamps, welding magnets, or a vacuum table will hold the parts in place. Without a fixture, the metal shifts as it heats. That shift ruins the joint.
Step 1: Inspect the Base Metal and Joint Design
Start by looking at the sheet. Check for bends, creases, and surface marks. A sharp crease creates a weak spot. The heat concentrates at the root of the crease and can crack the metal.
Check the joint design. For thin sheet, a butt joint or a square edge butt is common. A V-groove is usually unnecessary unless the sheet is thick enough to need it. A T-joint needs a small backing or a specific technique to ensure full penetration.
If the joint is a lap joint, be aware of the heat sink effect. The overlapping metal absorbs heat from the edge. You may need more amperage than you think.
Step 2: Clean the Surface and Joint Area
Clean the area within 25mm of the joint. This is the zone that will be exposed to the arc. Oils, dirt, and paint are the main enemies here.
Use a degreaser first. Wipe down the entire area with a clean rag. Then use a TIG grinding wheel or a clean abrasive pad to remove oxidation and scale. For stainless steel, use a stainless wire brush. For aluminum, use a new aluminum brush.
Do not use a wire wheel on the same area that was used for steel. Steel contamination causes porosity. Aluminum contamination causes a weak joint. Keep separate tools for each material.
After cleaning, wipe the area again with a dry, clean rag. Do not touch the cleaned surface with bare hands. Skin oils transfer and cause defects.
Step 3: Fit-Up and Joint Alignment
Fit-up is the most common error in thin sheet TIG welding. The edges of the sheet must be close together. For thin sheet, a gap of 1.5mm or less is ideal. A larger gap requires more filler and creates a deep pool. A deep pool burns through.
Use a fixture to hold the joint. Clamp the sheet at the joint and at least 100mm away. The clamps should be tight enough to hold the joint but not so tight that they dent the sheet.
Check the alignment. The edges should be flat and parallel. If one edge is higher, the weld will not penetrate evenly. Use a straightedge or a feeler gauge to check for gaps.
For T-joints, the edges should meet cleanly. If there is a gap, the weld will not fuse at the root. Add a small backing or use a technique that fills the gap.
Step 4: Set the TIG Welding Setup
Adjust the TIG welding setup to match the sheet thickness. For 0.5mm to 1.5mm sheet, start with low amperage. A typical range is 40 to 100 amps, depending on the material and joint type.
Set the gas flow. For thin sheet, a flow of 8 to 12 cubic feet per hour is usually enough. Too much gas creates turbulence and pulls in air. Too little gas leaves the pool exposed.
Choose the right tungsten electrode. For AC aluminum, use a cupped tungsten. For DC steel, use a ground tungsten. The diameter should match the amperage. A 1/8 inch tungsten is fine for low amperage.
Adjust the travel speed. Slow travel deposits too much heat. Fast travel causes lack of fusion. Practice on a scrap piece of the same thickness and material.
Step 5: Apply Heat Control and Preheat if Needed
Thin sheet does not need preheat. In fact, preheat can cause warping. The metal expands as it heats and contracts as it cools. Preheat increases that movement.
Instead, use heat control techniques. Keep the travel speed fast. Use a small arc. Let the heat dissipate into the fixture.
If the sheet is large, use a copper backing plate. The plate absorbs heat and keeps the joint from burning through. It also helps with full penetration.
For aluminum, use a high-frequency start or a foot pedal. A high-frequency start creates a clean arc without touching the tungsten to the metal. A foot pedal lets you control the amperage while welding.
Step 6: Weld and Monitor the Pool
Strike the arc at the start of the joint. Move the torch in a steady arc. Keep the angle small, usually 15 to 20 degrees from vertical.
Watch the pool. It should be a small, bright puddle. If the pool grows too large, reduce the amperage or increase the travel speed. If the pool is too small, increase the amperage or slow down.
Add filler rod as needed. Do not add filler continuously. Add it in short bursts. The filler should melt into the pool, not sit on top of it.
Keep the gas flowing after the arc stops. The pool cools slowly. If the gas stops, the pool oxidizes and becomes weak. Keep the gas flowing for 10 to 15 seconds after the last bead.
Step 7: Post-Weld Inspection and Cleanup
After the weld cools, inspect the joint. Look for porosity, undercut, and cracks. Use a magnifying glass if needed.
Check for distortion. Measure the joint with a straightedge or a dial indicator. If the sheet is warped, you need to adjust your fit-up or heat control.
Clean the weld area. Use a TIG brush to remove spatter and oxidation. Do not use a wire wheel on a finished weld. It can gouge the surface.
For a final check, use a dye penetrant test if the joint is critical. Apply the dye, let it sit, and wipe it off. Look for cracks.
Common Mistakes in Sheet Metal TIG Preparation
The most common mistake is skipping the cleaning step. A thin film of oil causes porosity. The weld looks good but has weak spots.
Another mistake is poor fit-up. A gap that is too large causes burn-through. A joint that is loose causes distortion.
A third mistake is wrong amperage. Too much heat burns through the sheet. Too little heat causes lack of fusion.
A fourth mistake is no gas flow after the arc. The pool oxidizes and becomes brittle.
A fifth mistake is touching the tungsten to the metal. This contaminates the tungsten and causes a cracked weld.
Verification: How to Know the Preparation Is Correct
Before striking the arc, perform a final check.
- The joint is clean and free of oil.
- The edges are aligned and the gap is 1.5mm or less.
- The fixture is holding the sheet in place.
- The TIG welding setup is set for low amperage.
- The gas flow is steady and the shielding gas is flowing.
- The filler rod is the correct material and diameter.
If all six checks pass, strike the arc. If one fails, fix it before welding.
Conclusion
Sheet metal TIG preparation is not optional. It is the difference between a strong weld and a weak one. Clean the surface. Align the joint. Set the TIG welding setup. Control the heat.
These steps take time. They are not worth skipping. A clean TIG weld on thin sheet is a mark of good fabrication.
Frequently asked questions
What is the best gas flow for thin sheet TIG welding?
A flow of 8 to 12 cubic feet per hour is usually enough. Too much gas creates turbulence and pulls in air.
How much gap should I leave between thin sheet edges?
For thin sheet, a gap of 1.5mm or less is ideal. A larger gap causes burn-through.
Do I need to preheat thin sheet for TIG welding?
No. Preheat causes warping. Use heat control techniques instead.
Can I use the same wire brush for steel and aluminum?
No. Steel contamination causes porosity. Use separate brushes for each material.
What is the best tungsten for aluminum TIG welding?
Use a cupped tungsten for AC aluminum. It handles the alternating current better and lasts longer.