A sheet metal inspection failure at final QC usually traces back to tolerances, fit-up, surface damage, or coating issues. This guide maps common rejection symptoms to their likely causes and fixes, then lists prevention steps to keep parts from returning to the shop.
- Most final inspection failures trace to a small number of repeat causes: out-of-tolerance bends, poor fit-up, burrs, surface scratches, and coating defects.
- A defect is often caught late because the problem started at an earlier operation, such as nesting, bending, or laser cutting.
- Documenting the exact location, part, and operation where a defect first appears helps prevent recurrence.
- Preventive checks at each process step are cheaper and faster than rework or scrap at final QC.
- Clear, consistent inspection criteria reduce disputes between the shop and the customer.
A rejected part at final quality control is a direct loss. The part already consumed material, labor, machine time, and possibly coating. In many shops, the defect looks obvious at the inspection table, but the cause started several operations earlier. Bending tolerances drift during tooling wear. Cut edges develop burrs that no one removes. A panel that looked fine after the press brake develops a visible distortion after stacking. The final QC inspector sees the symptom, but the root cause may be in the nesting file, the setup sheet, or the handling procedure.
This guide walks through the most common reasons sheet metal parts fail final inspection. It pairs each symptom with a likely cause and a practical fix. The goal is not to assign blame. It is to stop the same defect from appearing in the next job.
What does a typical final inspection failure look like?
Final inspection is where the part meets the drawing, the customer specification, and the practical use case. A part can pass every internal check and still fail at final QC if the acceptance criteria were not aligned early. Common failure points include dimensional checks with calipers and micrometers, visual inspection under proper lighting, fit checks against mating components, and surface or coating checks.
The most frequent rejection reasons fall into a few categories:
- Dimensional or tolerance failure. A bend angle is off, a hole pattern is shifted, or a flat pattern does not match the assembly.
- Surface damage. Scratches, dents, dents from stacking, or coating defects that violate the customer requirement.
- Fit failure. The part does not align with mating parts, gaskets, fasteners, or seals.
- Material or processing defect. A crack, a weld issue, a punch-out problem, or a wrong material batch.
- Documentation or labeling error. The part is physically acceptable but the label, serial number, or packaging does not match the customer requirement.
When a part fails, the first task is to classify the defect. A single out-of-tolerance hole is not the same as a bent panel that cannot be repaired. The classification determines whether the part is scrap, rework, or a negotiable exception.
Troubleshooting table for common sheet metal inspection failures
The table below lists symptoms frequently seen at final QC, the most likely cause, and the action to take. Use it as a first-pass diagnostic tool.
| Symptom | Likely cause | What to do |
|---|---|---|
| Bend angle outside tolerance | Worn brake tooling, incorrect backgauge setting, material thickness variation | Verify tooling condition, recheck backgauge offsets, and confirm material thickness before restarting |
| Hole pattern off-center | Incorrect nesting layout, wrong punch tool, or fixture shift | Compare the part to the drawing and the nesting file; recheck tooling and fixturing before rerunning |
| Visible scratches or scuff marks | Improper handling, stacking without spacers, or transfer from cutting | Inspect handling path, add protective spacers, and isolate the damaged area for rework or exception |
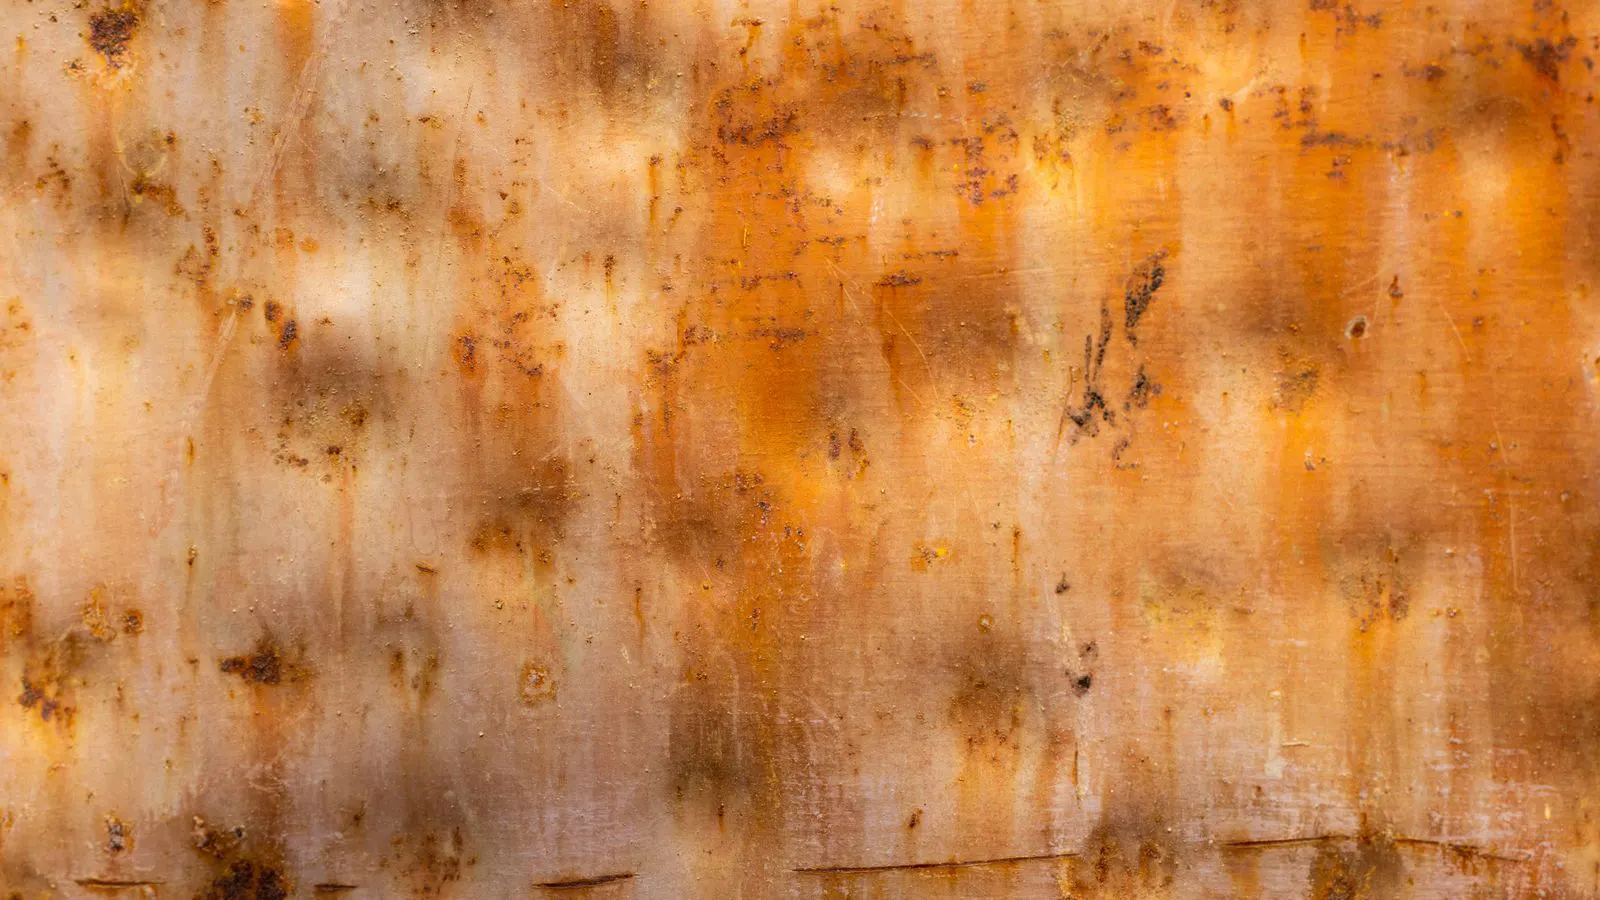
| Surface rust or discoloration | Long dwell time in a humid area, missing passivation, or water exposure | Identify the exposure point, clean and treat the affected area, and review storage and transport conditions |
| Coating pinholes or orange peel | Surface contamination, incorrect spray distance, or curing temperature issue | Clean the substrate, review spray parameters, and re-cure or recoat per the coating process |
| Part does not fit mating component | Tolerance stack-up, wrong revision, or incorrect bend allowance | Verify the drawing revision, measure the critical dimensions, and confirm the bend deduction or allowance used |
| Excessive burrs or sharp edges | Missing deburring step, wrong deburring tool, or abrasive cut edge | Add or correct the deburring step and inspect edge quality before the next process |
| Weld distortion or misalignment | Incorrect clamping, wrong sequence, or heat input too high | Review the weld procedure, check fixture rigidity, and adjust the welding sequence or clamping |
Why do parts fail after passing earlier checks?
A part that passes each in-process check can still fail final inspection if the checks were not covering the same requirements. A common scenario is this: the cutting operation verifies hole locations against the flat pattern. The bending operation verifies bend angles. The finishing operation checks for burrs. But final QC checks the assembled fit, the surface finish under customer lighting, and the coating appearance. If any of those criteria were not defined earlier, the failure appears as a surprise.
The second reason is that defects are not always visible at the operation where they occur. A small punch-out may look acceptable on a thick plate but cause a visible distortion after bending. A scratch introduced during handling may only become obvious after the part is coated or cleaned. The third reason is that the final inspector is applying a different standard than the shop floor. The customer may require a specific surface class, a specific edge finish, or a specific tolerance for a critical feature that the shop never explicitly checked.
The fix is to close the loop between the shop floor and final QC. Every final inspection criterion should be traceable to a process step. If final QC checks bend angle, the bending operation should check bend angle. If final QC checks coating appearance, the coating operation should check coating appearance. If final QC checks fit, the assembly or dry-fit step should check fit.
How to trace a failure back to the operation
Tracing a failure requires a small amount of documentation discipline. The shop should record, for each rejected part, the part number, quantity, serial or batch number, the operation where the defect was found, the operation where the defect likely originated, and the corrective action. This record should be attached to the job file.
A practical approach is to ask four questions for each failure:
- What exactly failed? Write it in measurable terms. Do not write “looks bad.” Write “bend angle 90.5 degrees, tolerance 90.0 plus/minus 0.5 degrees.”
- Where was it found? Note the station, the inspector, and the date.
- When did it likely start? Look for the earliest operation that could have created the defect.
- What prevents it from returning? Define a check, a tooling change, a fixture change, a handling rule, or a process parameter change.
For example, if a bracket fails final inspection because the leg is not flat, the root cause may be a brake tooling issue. The corrective action is to replace the worn tool and add a bend angle check at the bending station. The prevention action is to inspect tooling at the start of each job and after a set number of bends.
How to reduce QC rejection reasons with defect prevention
Defect prevention is cheaper than rework, and it is cheaper than scrap. The most effective prevention starts before the part enters the shop. It requires a clear understanding of the drawing, the customer requirement, and the process capability.
The following prevention practices are widely used:
- Review the drawing for critical dimensions and special requirements before release. Mark the features that will be checked at final QC and assign them to the operation that creates them.
- Verify material condition. Check thickness, grade, surface condition, and edge quality before cutting. A bad batch can create a cascade of downstream defects.
- Confirm tooling and fixtures. Inspect brake tools, punch tools, and fixtures for wear, dirt, and misalignment before the first part.
- Run a first-piece check. Produce one part, inspect it against the drawing, and record the results before releasing the full quantity.
- Control handling. Use spacers, edge protection, and proper lifting. A single dent can cause a rejection.
- Standardize inspection lighting and references. Surface defects are easier to find under controlled light. Use a reference standard for color, finish, or coating appearance when possible.
- Close out each failure. The corrective action should be verified on the next job, not just recorded on the current one.
Prevention is not a one-time event. It is a habit. A shop that reviews failures regularly and updates its process controls will see fewer repeat defects. A shop that treats each rejection as an isolated problem will keep paying for the same mistake.
How to handle a rejected part without losing the customer relationship
A rejection is not a failure if it is handled correctly. The customer expects that defects can happen. What they do not expect is confusion, delay, or a lack of ownership. The shop should respond quickly, state the facts, and offer a clear path to resolution.
The response should include the following:
- Acknowledge the rejection without arguing. State what failed and what the requirement was.
- Provide the corrective action. Explain what was changed to fix the defect.
- Provide the prevention action. Explain what will stop the defect from returning.
- Provide the timeline. State when the replacement part or corrected batch will be ready.
- Provide the evidence. If applicable, include inspection results, photos, or a rework record.
The tone should be direct. Do not over-explain. Do not make excuses. The customer wants to know that the problem is understood, that the part will be fixed, and that the same problem will not happen again. A short, factual response builds trust. A long, defensive response destroys it.
When a part should be scrapped instead of reworked
Not every rejected part should be reworked. Rework has costs: labor, machine time, additional material, and risk of a new defect. Scrap has costs too, but sometimes the cost of rework is higher than the cost of a new part.
A part should be scrapped when:
- The defect is structural. A crack, a severe distortion, or a failed weld cannot be repaired without changing the part design.
- The defect affects safety or function. A part that will be used in a pressurized system, a safety device, or a high-voltage assembly should not be repaired if the defect compromises performance.
- Rework will violate the drawing. If the part cannot be brought back to tolerance without exceeding the maximum material removal or without changing the design, it should be scrapped.
- The part has already been coated or finished. Reopening a finished part for repair often creates a new defect that is harder to hide.
- The cost of rework is close to the cost of a new part. If the labor and machine time for rework approaches the cost of a new part, scrap is usually the better option.
The decision should be made by someone with authority over the job. The inspector should not make the call alone. The shop owner, the production manager, or the quality manager should review the part, the cost, and the customer requirement before deciding.
How to build a simple defect prevention system
A defect prevention system does not need to be complicated. It needs to be consistent. The basic elements are:
- A defect log. Record every rejection, the symptom, the likely cause, and the corrective action.
- A first-piece inspection. Check the first part of each job against the drawing before releasing the full quantity.
- A tooling and fixture check. Inspect tools and fixtures at the start of each job and after a set number of cycles.
- A handling standard. Define how parts are moved, stacked, and stored to prevent damage.
- A review meeting. Review the defect log regularly and update process controls based on the patterns.
The defect log is the most important element. Without it, the shop cannot see the patterns. With it, the shop can identify the same three or four defects that cause most of the rejections and focus prevention there. A shop that tracks its defects and fixes them systematically will reduce final inspection failures over time. A shop that does not track them will keep paying for the same problems.
The final inspection failure is not a mystery. It is a chain of small decisions, small omissions, and small gaps. The part failed because a bend was not checked, a tool was not inspected, a part was stacked without spacers, or a coating was not cured correctly. The fix is the same for most shops: define the requirement, check the operation, document the failure, and prevent the return.
Frequently asked questions
What is the most common cause of sheet metal inspection failure?
Tolerance and fit issues are among the most common causes. Bend angle, hole pattern, and edge finish frequently fall outside the customer requirement if the process controls are not tight.
Can a part that fails final inspection always be reworked?
No. Some defects, such as cracks, severe distortion, or safety-related failures, cannot be repaired. The shop should evaluate the cost and risk of rework before deciding.
How do I reduce the number of rejected parts at final QC?
Align the final inspection criteria with the process steps that create the features. Check bend angle at the bending station, check hole pattern at the cutting station, and check surface finish at the finishing station.
What should I do when a customer rejects a part?
Acknowledge the rejection, state the facts, provide the corrective action, and provide a timeline. Do not argue. The customer wants to know the problem is understood and fixed.
Is a defect log really necessary for a small shop?
Yes. A defect log helps identify repeat problems and allows the shop to focus prevention on the defects that cause the most rework and scrap. Without it, the same problems will keep returning.