Determine the minimum bend radius by checking material thickness, alloy type, and bend direction. Use standard tables, adjust for tooling, and verify with a test bend. This method prevents cracking and ensures clean, repeatable sheet metal forming.
- Minimum bend radius depends on material grade, thickness, and bend direction.
- Always confirm the radius limit with your fabricator before releasing drawings.
- Use the inside radius, not the outside, for tool selection.
- A test bend is the fastest way to verify the chosen radius.
What Sets the Minimum Bend Radius
The minimum bend radius is the smallest inside radius that a sheet metal part can take without cracking, tearing, or showing a visible fracture line on the inside of the bend. It is not a single number. It changes with material grade, sheet thickness, bend direction, and tooling. A 2 mm sheet of mild steel may bend cleanly at 1 mm radius, while the same thickness of stainless steel may need 3 mm or more.
This limit matters for DfM. If the radius is too small, the part fails during production. If it is too large, the part may not fit into the assembly or may require more material than planned. The goal is to find the lowest radius that still produces a clean bend every time.
Prerequisites Before Calculating
Before you start calculating, gather these items:
- Material specification: alloy or grade, heat treatment, and finish.
- Sheet thickness: measured in the flat state.
- Bend direction: whether the bend is perpendicular or parallel to the grain.
- Target inside radius: the value shown on your drawing.
- Tooling type: V-die opening or punch radius available at the fab.
If any of these are missing, stop. A radius calculated without grain direction or tooling data is a guess, not an engineering decision.
Step 1: Identify the Material and Thickness
Start with the material specification. Mild steel, stainless steel, aluminum, copper, and spring steel all behave differently. Thickness matters just as much. A 1 mm sheet bends more easily than a 6 mm sheet, even if the material is the same.
Check the supplier certificate or the material spec sheet. If the drawing only says “steel,” ask for the grade. The carbon content and alloying elements control how much strain the material can take before it cracks.
Step 2: Determine the Bend Direction
Bend direction means the angle between the bend line and the metal grain. Grain is the direction the metal rolled during production. It is usually visible as a fine line pattern on the surface.
Bending across the grain is the easy direction. Bending along the grain is harder. For thin sheets, the difference is small. For thicker sheets, the difference can be large. If the bend runs parallel to the grain, you need a larger radius. If it runs perpendicular, you can usually use a smaller one.
If the part has multiple bend lines, check each one separately. Some lines may run across the grain and others along it. They may need different radii.
Step 3: Look Up the Standard Minimum Radius
Most metal suppliers and fabricators use industry-standard tables that list the minimum bend radius for common materials and thicknesses. These tables are a starting point, not a rule. They assume standard conditions: mild steel, room temperature, standard tooling, and no special heat treatment.
Find the row for your material and thickness. Then check the column for bend direction. For example, a table might show 2 mm mild steel: 1 mm radius across the grain, 2 mm radius along the grain. Stainless steel of the same thickness might show 2 mm across the grain and 4 mm along the grain.
These numbers are conservative. They are designed to avoid cracking, not to optimize tooling or cost. They are your baseline.
Step 4: Adjust for Tooling and Punch
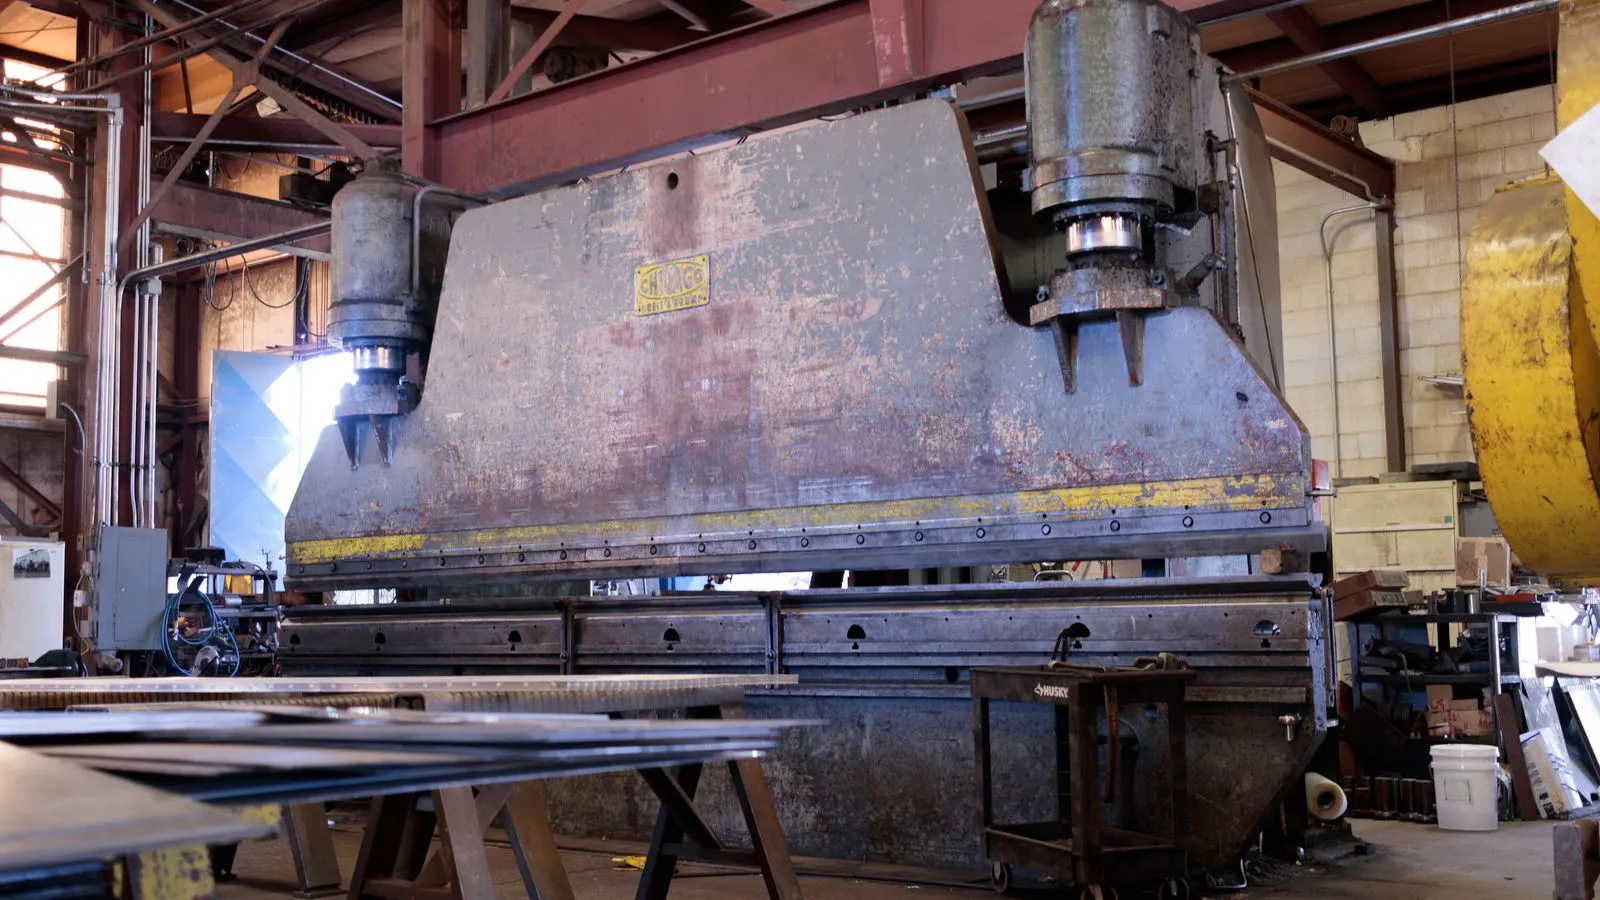
The standard tables assume a specific tooling setup. In practice, your press brake punch radius and die opening affect the result. A sharp punch creates a tighter bend and higher stress. A rounded punch creates a softer bend and lower stress.
If your punch radius is smaller than the target inside radius, the actual bend will be tighter than intended. If your die opening is too narrow for the sheet thickness, the bend will be uneven. Match the punch radius to the target inside radius when possible. If you must use a smaller punch, increase the target radius to compensate.
A common rule is to keep the punch radius equal to or larger than the target inside radius. If the punch is smaller, the bend will crack more easily.
Step 5: Check for Surface Finish and Heat Treatment
Some material treatments make bending harder. Pickled, passivated, or coated surfaces can crack at the bend because the coating is brittle. Hardened or spring-tempered materials have less ductility and need a larger radius.
If the part has a finish such as plating, powder coat, or anodizing, the bend must be made before the finish is applied. If the finish is already on the material, the minimum radius may need to increase.
Heat treatment is another factor. A cold-rolled sheet is easier to bend than a hot-rolled or quenched sheet. If the material has been work-hardened by prior forming, the minimum radius increases.
Step 6: Calculate the Bend Allowance
The bend allowance is the length of metal that is consumed in the bend. It is not the same as the minimum bend radius, but it is part of the same calculation. If the radius is too small, the bend allowance changes and the flat pattern length is wrong.
The bend allowance formula depends on the bend angle, sheet thickness, and inside radius. For a 90 degree bend, the allowance is often calculated as a factor times thickness. For other angles, the formula changes. Use the formula your fabricator uses, or use the bend deduction method if the tooling is fixed.
If you are changing the radius, recalculate the bend allowance. A larger radius means a longer bend allowance. A smaller radius means a shorter one. The flat pattern must match the final part dimensions after bending.
Step 7: Verify with a Test Bend
The final check is a physical test bend. Cut a small sample of the same material, the same thickness, and the same finish. Bend it to the target radius using the same tooling. Inspect the inside of the bend for cracks, tears, or visible fracture lines.
If the test bend is clean, the radius is safe. If it cracks, increase the radius and test again. Do not assume the standard table is correct for your specific material lot. Material quality varies. A supplier may ship a batch that is harder than the last one.
Test bends are cheap and fast. They save hours of troubleshooting on the production line.
Common Mistakes in Minimum Bend Radius Design
- Using the outside radius instead of the inside radius. The standard tables and tooling are based on the inside radius.
- Ignoring grain direction. Bending along the grain with a tight radius is a common failure mode.
- Assuming all steel is the same. Mild steel, stainless, and spring steel have very different limits.
- Forgetting the finish. Coatings and plating crack at bends and may require a larger radius.
- Skipping the test bend. A table value is a guideline, not a guarantee.
- Mixing bend deduction and bend allowance. Use one method consistently for the whole part.
Final Verification Step
Before releasing the drawing, run this final check:
- Confirm the inside radius is at or above the standard table minimum for the material and thickness.
- Confirm the bend direction is perpendicular to the grain, or increase the radius if it is parallel.
- Confirm the punch radius is at least the target inside radius.
- Confirm the bend allowance matches the target radius and bend angle.
- Confirm a test bend was performed and passed.
If all five checks pass, the minimum bend radius is safe for production. If any check fails, adjust the radius or the tooling before releasing the drawing.
When to Increase the Radius
Sometimes the standard minimum radius is not enough. Increase the radius if:
- The material is thin and soft, and the bend is along the grain.
- The part has a hardening heat treatment.
- The bend is very close to an edge or hole.
- The part must pass a visual inspection with no visible crack.
- The bend is repeated many times on the same part, and wear matters.
A larger radius costs more material and may affect fit. But it reduces scrap and rework. In DfM, a slightly larger radius is often cheaper than a cracked part.
How to Document the Radius on the Drawing
State the inside radius clearly on the drawing. Use a note such as “Minimum bend radius 2 mm, inside.” Add a note for grain direction if the part has multiple bends. If the radius is critical, add a tolerance such as 2 mm +/- 0.5 mm.
Do not leave the radius to interpretation. If the drawing says “R1” but the material is thick stainless steel, the fab will either reject the part or use a larger radius and call it out. Clear notes prevent disputes and rework.
Frequently asked questions
What is the difference between minimum bend radius and bend allowance?
Minimum bend radius is the smallest inside radius that prevents cracking. Bend allowance is the length of metal consumed in the bend. They are related but serve different purposes in flat pattern calculation.
How do I know the grain direction on a sheet?
Look for fine parallel lines on the surface. These run in the rolling direction. If the bend line is parallel to these lines, the bend is along the grain and needs a larger radius.
Can I use the same radius for all bends on a part?
No. Each bend line may have a different orientation to the grain, a different material thickness, or a different tooling setup. Check each bend individually.
What happens if I use a radius smaller than the minimum?
The inside of the bend may crack, tear, or show a fracture line. The part may fail inspection or break during assembly.
Do coated materials need a different radius?
Yes. Coatings are brittle and crack at bends. Bend the part before applying the finish, or increase the radius to protect the coating.