Sheet metal prototyping costs and lead times depend on material, complexity, and tooling. A clear RFQ with drawings and material specs allows suppliers to provide comparable quotes. Understanding these factors helps you budget accurately and plan production timelines effectively.
- Clear drawings and material specifications reduce back-and-forth and accelerate quote turnaround.
- Complex part geometries and tight tolerances increase both cost and production time.
- Supplier quotes should be compared on identical scope to ensure fair evaluation.
What Drives the Cost of Sheet Metal Prototyping
Sheet metal prototyping costs are not fixed. They shift based on the part geometry, material grade, and the number of units you need. A simple flat plate with a few laser-cut features costs significantly less than a part with multiple bends, drilled holes, and surface finishes.
Material selection is the first major cost driver. Steel, aluminum, and stainless steel behave differently under laser cutting and CNC bending. Aluminum often costs more per sheet than mild steel, while stainless steel adds both material cost and tooling wear. Thickness matters too. A 1.5mm sheet cuts and bends faster than a 6mm sheet, but thicker material provides better rigidity for some applications.
The part geometry determines the process complexity. A single flat part that does not require bending is cheaper than a multi-bend part that needs a press brake setup. Multiple bend angles and tight bend tolerances increase the time spent on each part. If the part requires custom tooling, such as a special die or fixture, that cost is typically amortized over the prototype run.
Volume also plays a role. For low-volume prototyping, setup time is a larger percentage of the total cost. As you order more units, the setup cost spreads out, and the per-unit price drops. However, prototyping runs are usually small, so the per-unit price stays higher than production volumes.
How Lead Time Is Determined for Prototypes
Lead time for sheet metal prototyping includes several stages: design review, material procurement, fabrication, finishing, and quality inspection. For simple parts, the fabrication stage may take only a day or two. For complex parts with multiple processes, the timeline extends.
Material availability affects the schedule. Common materials like mild steel and standard aluminum alloys are usually in stock at fabrication shops. Specialty materials, such as specific stainless grades or corrosion-resistant alloys, may require longer procurement times. If your part requires a material that is not locally available, the lead time increases accordingly.
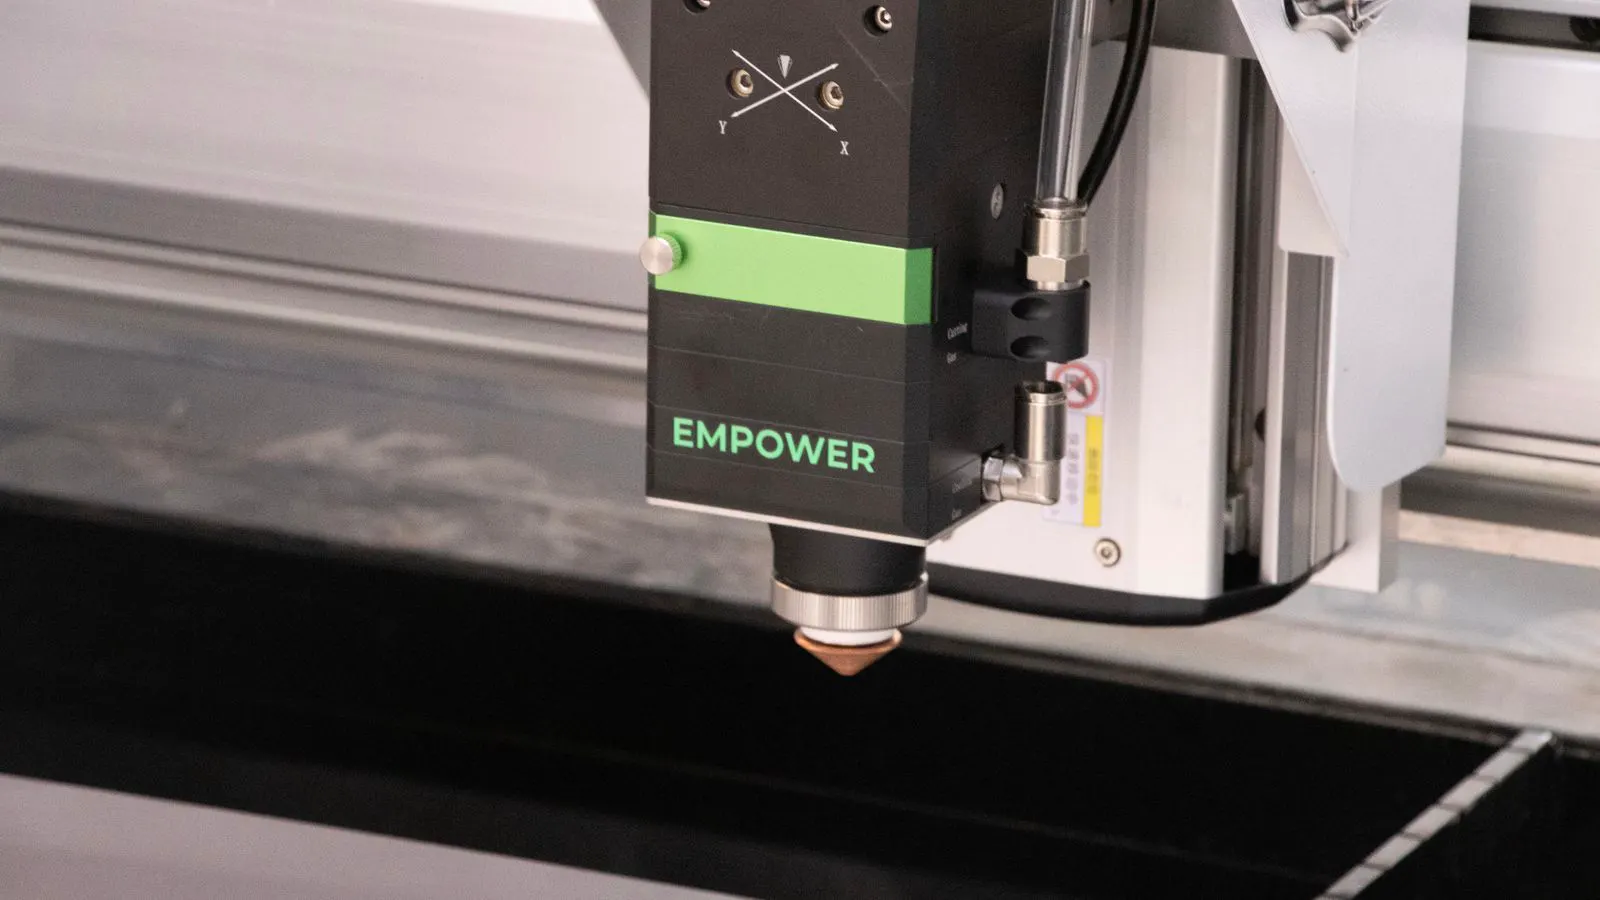
The fabrication process itself determines the shop floor time. Laser cutting is fast, but the cutting time depends on the material thickness and the complexity of the cut lines. CNC bending is precise but requires setup for each bend angle. If the part has many bends, the bending time adds up. Finishing operations like deburring, painting, or plating add further time, especially if the finish requires curing or chemical processing.
Quality inspection is another factor. For critical applications, you may require first article inspection or dimensional checks. This adds time but reduces the risk of discovering defects later in the production run. If the supplier requires additional time for setup and verification, the lead time extends.
How to Write a Clear RFQ for Sheet Metal Prototyping
A Request for Quote (RFQ) is the first step in getting accurate pricing and lead time estimates. A poorly written RFQ leads to vague quotes, back-and-forth questions, and extended lead times. A clear RFQ reduces ambiguity and allows suppliers to evaluate your part quickly.
Start with the part drawings. Provide 2D drawings with all critical dimensions, bend lines, and hole locations. If you have a 3D model, include it as well. Specify the material, thickness, and any surface requirements. State the quantity you need for the prototype run. If you require first article inspection or specific tolerances, mention those in the RFQ.
Include the intended use of the part. If the part is for a fixture, a housing, or a test article, that context helps the supplier understand the importance of tolerances and finishes. For example, a cosmetic finish for a visible component requires different processing than a functional finish for an internal part.
State your target lead time. If you have a hard deadline, explain it. Suppliers can then advise whether your timeline is realistic or if they need to expedite certain steps. If your timeline is flexible, mention that. This flexibility can sometimes help you negotiate a better price.
Avoid vague language. Instead of saying “high quality,” specify the quality requirements. Instead of “standard finish,” state whether you need deburring, painting, or anodizing. The more specific your RFQ, the fewer questions the supplier will have, and the faster they can respond.
How to Compare Quotes Fairly
Receiving multiple quotes is common when sourcing sheet metal prototyping services. However, comparing quotes is not always straightforward. Different suppliers may interpret your RFQ differently, or they may use different processes to achieve the same result.
To compare quotes fairly, ensure that all quotes are based on the same scope of work. This includes the same material, thickness, quantity, and finish requirements. If one supplier uses a different material or a different process, the quote is not directly comparable. Ask each supplier to clarify their assumptions in the quote.
Look at the breakdown of costs. A good quote should separate material cost, fabrication cost, finishing cost, and any tooling or setup fees. This transparency helps you understand where the cost comes from. It also helps you identify potential savings. For example, if one quote includes a custom fixture and another does not, you can ask whether the fixture is necessary for your application.
Lead time should also be part of the comparison. A cheaper quote with a longer lead time may not be suitable if you need the part for a specific project milestone. A more expensive quote with a shorter lead time may be worth the extra cost if it keeps your project on schedule.
Do not rely solely on the lowest price. A low quote may indicate that the supplier has skipped a necessary step, or that they have made an error in their calculation. Ask for clarification on any item that seems unusually low. Verify that the quote includes all necessary processes and inspections.
Cost Drivers in Sheet Metal Prototyping
The table below summarizes the primary cost drivers for sheet metal prototyping. Understanding these factors helps you budget accurately and identify where you can make design changes to reduce cost or lead time.
| Cost Driver | Impact on Price | Impact on Lead Time |
|---|---|---|
| Material type and thickness | Higher cost for specialty materials and thicker sheets | Specialty materials may require longer procurement |
| Part geometry complexity | More bends and features increase fabrication cost | Complex parts take longer to set up and produce |
| Tolerance requirements | Tight tolerances require more inspection and setup | Additional inspection adds time to the schedule |
| Surface finish | Finishes like painting or plating add cost | Finishing processes add time, including curing |
| Quantity | Lower volumes have higher per-unit setup costs | Small runs may have shorter overall lead times |
| Tooling requirements | Custom tooling adds initial cost | Tooling setup extends the lead time |
These factors interact. A part with tight tolerances and a complex geometry will have a higher cost and longer lead time than a simple part with loose tolerances. When you are designing your prototype, consider which of these factors you can adjust to meet your budget and timeline.
How Design Choices Affect Budget and Timeline
Your design decisions have a direct impact on the cost and lead time of your sheet metal prototype. A small change in the design can significantly affect the fabrication process and the final cost.
Consider the bend radius. A larger bend radius is easier to achieve and requires less force, which can reduce the risk of cracking. A tight bend radius may require a special die or more setup time. If your design allows for a slightly larger bend radius, you may save on cost and reduce the lead time.
Hole placement and diameter also matter. Small holes are harder to cut and may require a different process than larger holes. Holes that are too close to the edge can cause the material to tear during cutting. Placing holes with adequate clearance from the edge reduces the risk of defects and may reduce the need for additional inspection.
Material thickness is another design choice. If your part does not require high rigidity, using a thinner sheet can reduce cost and fabrication time. However, if the part is subject to bending forces or impact, a thicker sheet may be necessary. Balance the functional requirements with the cost and lead time implications.
Surface finish requirements should be defined early. If you need a painted finish, specify the color and type. If you need a polished finish, state the level of polish required. These details affect the fabrication process and the final cost. Defining them in the RFQ avoids surprises and ensures that the supplier can plan the work correctly.
By reviewing your design through the lens of manufacturability, you can make informed decisions that align with your budget and timeline. A few small design adjustments can save significant cost and reduce the lead time for your prototype run.
Frequently asked questions
How long does sheet metal prototyping usually take?
Simple flat parts may take one to three days after the RFQ is approved. More complex parts with multiple bends and finishes can take one to two weeks. The exact time depends on material availability and process complexity.
What is the cheapest way to prototype a sheet metal part?
Use a common material like mild steel or standard aluminum. Keep the geometry simple by minimizing bends and features. Avoid tight tolerances and special finishes unless they are functionally required.
How do I know if a quote is accurate?
Check that the quote matches your RFQ scope. Look for a clear breakdown of material, fabrication, and finishing costs. If a quote seems unusually low, ask the supplier to clarify their assumptions and confirm that all necessary processes are included.
Can I change the design after I have sent the RFQ?
Yes, but changes may affect the cost and lead time. If you change the material, thickness, or geometry, the supplier will need to re-evaluate the part. It is best to finalize the design before sending the RFQ to avoid delays.
Do I need to provide a 3D model with my RFQ?
A 2D drawing with all critical dimensions is usually sufficient. A 3D model is helpful for complex parts with multiple bends or features. If you have a 3D model, include it to help the supplier understand the part geometry.