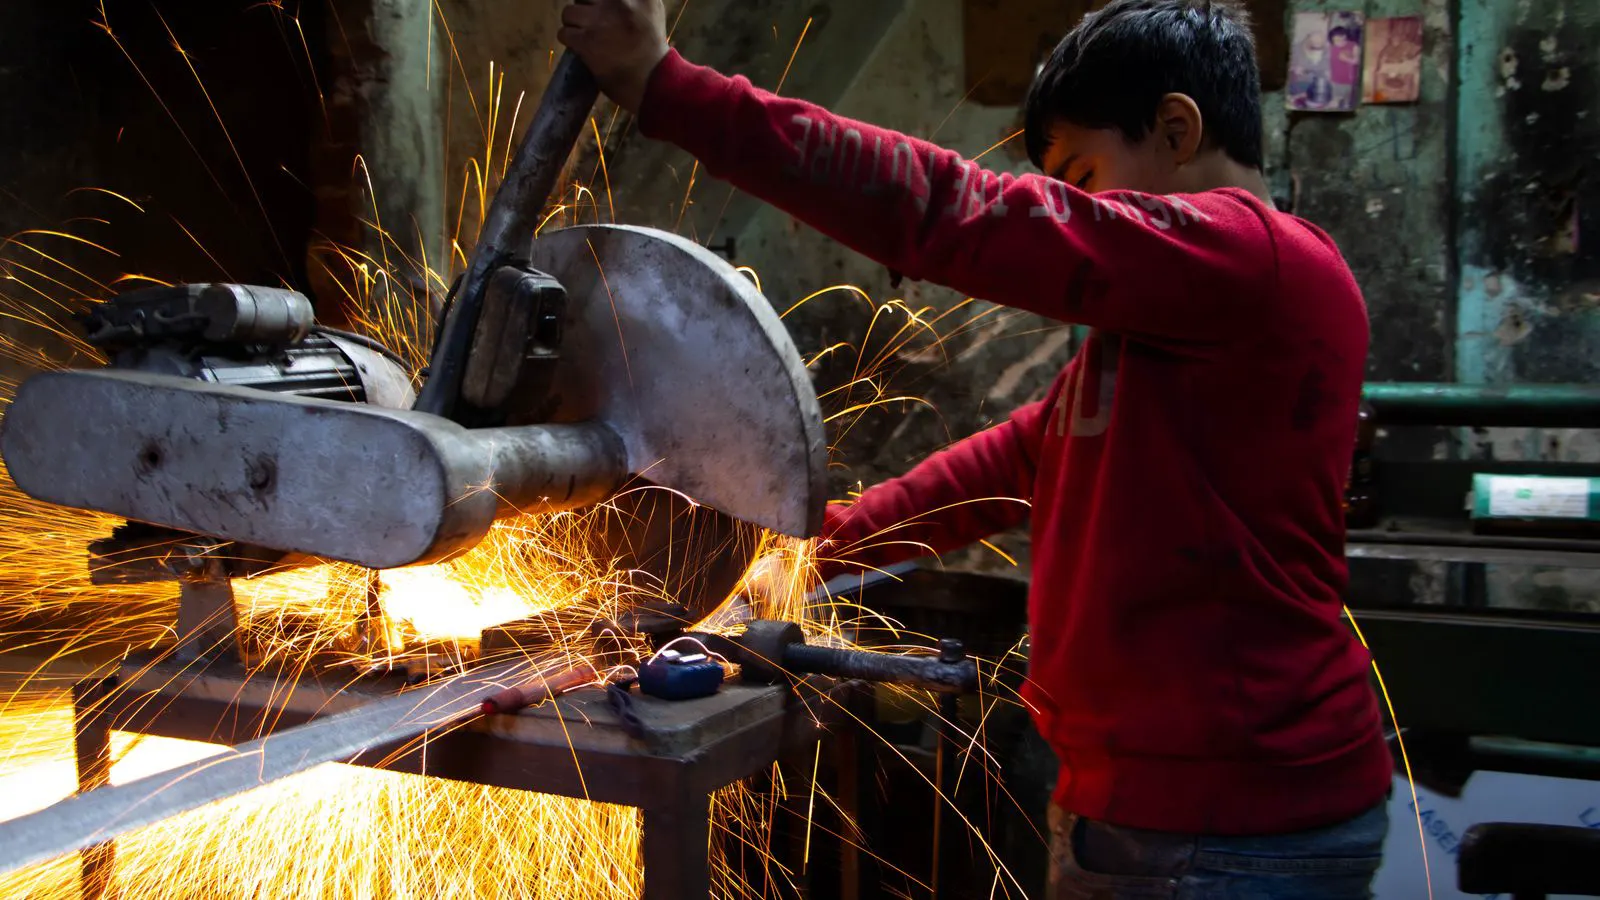
Automated nesting optimizes flat patterns to maximize material utilization. It reduces offcuts and improves cutting efficiency. Procurement teams should align file formats, tolerance specs, and vendor capabilities with these new capabilities before 2026.
- AI nesting software balances part count, kerf, and grain direction to maximize material utilization.
- Buyers must verify flat pattern data and tolerance specs before sending files to vendors.
- Cutting efficiency gains require matching machine capabilities with the nesting software used.
- Standardize file formats and revision control to avoid rework from bad layouts.
- Negotiate contracts based on verified waste metrics rather than vendor promises.
What Changed in the Cutting Shop Floor
Sheet metal fabrication has moved beyond manual layout and basic CAD nesting. Automated nesting now handles complex part arrays with minimal human intervention. Procurement managers should understand how this shift affects lead times, material costs, and quality control.
The core value lies in material utilization. Traditional nesting often leaves irregular offcuts. Modern algorithms fill those gaps with smaller parts or reorient plates. This reduces the number of raw sheets needed for a single job. Consider a job for 500 brackets. In a manual setup, you might order four 4-foot by 8-foot sheets because the irregular gaps between the large brackets waste too much space. An automated system might fit the same quantity into three sheets by rotating some brackets 90 degrees and tucking smaller gussets into the remaining voids. That difference of one sheet is a direct margin gain.
For buyers, this means a new set of expectations. You can now request tighter yield guarantees. You can also ask vendors to demonstrate how their software handles your specific part families. The technology is mature enough that it should be standard in mid-size and high-volume shops. If a vendor claims to use advanced nesting, ask for a screenshot of their nesting interface showing the optimization process. Do not accept a verbal promise that they use “smart software.” You need to see the tool path and the resulting layout.
How Automated Nesting Actually Works
The process starts with a flat pattern. The software reads the part geometry, hole patterns, and bend lines. It then calculates the kerf width based on the cutting tool. Laser, plasma, and waterjet all consume different amounts of material. A 30-watt laser consumes less material than a 60-watt laser, but a 10-millimeter waterjet stream consumes significantly more than a 2-millimeter laser beam. The software must know the exact tool parameters to calculate the true usable area of the part.
The algorithm places parts on a virtual sheet. It considers orientation, grain direction, and part interlocking. Some parts nest tightly against others. Others need clearance for tool access. The software balances these constraints to maximize the usable area. It checks if a part can be flipped. It checks if a part can be rotated. It checks if two parts can share a cutting line to save time. This happens in seconds, not hours.
AI nesting goes further than static rules. It learns from past jobs. If a certain part always creates a specific gap, the system remembers that. It may find a new arrangement that fits that gap better. This iterative improvement happens over many orders. A vendor that has cut the same family of parts for three years will have a historical database of optimal layouts. They will know exactly which combinations work without running the algorithm from scratch.
What This Means for Material Utilization
Material utilization is the percentage of raw sheet area that becomes finished parts. Higher utilization means less scrap. It also means fewer raw material orders per month.
Buyers should track this metric for their key part families. Compare utilization before and after switching to a vendor with advanced nesting. A modest improvement saves real money. Scrap also carries hidden costs. Disposal fees and material handling time add up. In a large shop, scrap removal is a daily chore. Every ton of scrap that is not produced is a ton of labor, fuel, and waste fees that is not spent.
Grain direction matters for some materials. Steel sheets have a rolling direction that affects strength and bending behavior. Good nesting software respects this. It will not rotate a part if doing so would compromise the material. For example, a flat pattern for a structural bracket might require the bend lines to be parallel to the grain for predictable yield. If the software rotates the part 90 degrees to save space, the bend might crack or require higher tonnage. Always specify grain direction in your drawings.
Cutting Efficiency in Practice
Cutting efficiency depends on tool path length and machine idle time. Automated nesting reduces tool travel. It groups parts in a logical sequence. The head moves less between cuts. This is often the biggest hidden gain. A layout that uses 10 percent less material but adds 20 percent more tool travel is actually worse for the vendor. They will pass that cost on to you.
This reduces cycle time. Shorter cycles free up capacity. Vendors can take on more jobs. They can also offer shorter lead times. For procurement teams, this translates to faster delivery of finished parts. If a vendor can cut 10 percent more parts per hour, they can turn around a rush order in two days instead of four.
Waterjet cutting handles thick plate and non-ferrous metals. Plasma handles thicker steel with higher speeds. Laser handles thin sheet with high precision. The nesting software must match the part set to the right machine. A poor match wastes the nesting gains. If you send a group of thin aluminum parts to a plasma machine because the laser is busy, you are throwing away the precision benefits of the laser. You are also generating a larger kerf that eats into your material budget.
Five Shifts Buyers Should Plan For
-
Tighter Yield Expectations. Vendors will quote based on verified utilization rates. Expect them to share layout files or yield reports. Do not accept estimates without proof. If a vendor says they can achieve 90 percent utilization, ask for the DXF file that shows the parts arranged on the sheet. Measure the area yourself. Verify the claim.
-
Data Quality Requirements. Your flat patterns must be clean. Duplicated faces, open gaps, and missing hole patterns break nesting algorithms. Invest in proper DXF or STEP file preparation. A single open line in a CAD model can cause the software to treat the part as two separate pieces. This creates phantom parts in the layout and confuses the machine.
-
Vendor Capability Gaps. Not all shops use the same nesting tools. Some rely on basic software. Ask directly which platform they use. Request a sample layout for your part family. If a small shop claims to use enterprise-level nesting, ask for a reference project. Many small shops use basic CAD that is fine for simple parts but fails on complex arrays.
-
Quality Control Updates. Automated layouts can place parts in unexpected locations. Verify that bend stations and finishing areas can handle the new part flow. Adjust your inspection checklist accordingly. If the software places a part near the edge of the sheet, the offcut might be too small to handle safely at the bend station. Plan your material flow around the new layout.
-
Contract Language Changes. Add clauses that define material utilization targets. Specify who owns the waste if the layout fails. This protects you when a new part design breaks the nesting pattern. If a vendor promises 85 percent utilization and delivers 70 percent, the contract should state that the difference is credited back to you or absorbed by the vendor.
How to Prepare Your Procurement Process
Start with your most complex part families. Send these to three vendors. Ask for a nesting report for each. Compare the utilization percentages and tool path logic. Do not just look at the price per part. Look at the total cost of ownership. A vendor with a 10 percent lower price per part might have a 20 percent lower utilization rate. The total cost might be higher when you factor in the raw material waste.
Check your file formats. Ensure your CAD models export to clean DXF or STEP files. Remove unnecessary entities. Lock your bend angles and tolerances. The nesting software needs stable input. If your CAD model has hidden layers or construction geometry, the software may try to nest those elements. This leads to errors. Clean your files before every upload.
Define your waste metric. Decide if you measure by sheet area, part count, or cost per unit. Agree on this with your vendors. Consistent measurement prevents disputes. If you measure by sheet area but the vendor measures by part count, you will argue about the numbers. Use the same formula.
Review your lead time assumptions. Faster cutting means tighter schedules. Adjust your production planning accordingly. You may be able to reduce safety stock for finished goods. If a vendor can deliver in three days instead of a week, you do not need to keep three weeks of stock on hand. This frees up working capital.
Common Mistakes to Avoid
Sending files with unresolved geometry is the most common error. Open gaps cause the software to reject parts. Duplicate faces create phantom parts. Clean your files before every upload. Run a geometry check in your CAD software before sending the files to the vendor. If the software flags an error, fix it now. Do not hope the vendor will fix it for you.
Ignoring grain direction causes bending issues. Some parts look fine in the layout but fail in the press brake. Specify grain direction in your drawings. Verify the vendor respects it. If the vendor rotates a part to save space, the bend quality might suffer. The part might crack, or the bend angle might be off. This leads to rework and scrap.
Accepting generic yield guarantees without data is risky. Vendors may quote high utilization for simple parts. Complex part families with many small features perform differently. Request part-specific data. A vendor might say they average 90 percent utilization across all jobs. If your job is 80 percent complex, they might only achieve 75 percent. The gap is a cost you are paying.
Neglecting tooling compatibility leads to rework. A layout optimized for a 1kW laser may not work on a 6kW machine. The kerf width changes. The part dimensions shift. Confirm the machine specs in your RFQ. Ask for the exact machine model and laser power. If the vendor changes the machine during the job, the parts might be out of tolerance.
The Bottom Line for 2026
Automated nesting is no longer a luxury. It is a baseline expectation for competitive fabrication. Procurement managers who understand the technology can negotiate better terms. They can also reduce waste across their supply base.
The shift is practical. It changes how you file parts, how you measure yield, and how you hold vendors accountable. Prepare your data. Ask the right questions. Verify the results. The savings are real. Do not assume that the highest utilization number is the best number. Look at the tool path. Look at the machine. Look at the grain direction. The best layout is the one that produces good parts on time, not just the one that saves the most metal.
| Vendor Capability | What to Request | Why It Matters |
|---|---|---|
| Nesting Software Version | Sample layout file | Verifies actual utilization on your parts |
| Machine Specifications | Tool path G-code or report | Confirms cutting efficiency matches the layout |
| Material Data | Raw sheet grade and grain direction | Prevents bending failures from poor orientation |
| Quality Control | Inspection checklist for nested parts | Catches placement errors before machining |
| Contract Terms | Yield guarantee clause | Protects you from waste disputes |
Frequently asked questions
What file formats work best for automated nesting?
Clean DXF and STEP files perform best. Ensure all geometry is closed and hole patterns are defined. Avoid sending files with open gaps or duplicate faces.
How do I verify a vendor's nesting capabilities?
Request a sample layout for your part family. Ask for the utilization percentage and tool path data. Compare the results across multiple vendors before selecting one.
Can automated nesting handle mixed material jobs?
Yes, but it requires more complex setup. The software must account for different grain directions and bend tolerances. Specify material grades clearly in your RFQ.
What happens if the nesting layout fails?
The vendor will re-nest the part family. This adds lead time and cost. Define your waste metric and rework policy in your contract to manage this risk.
Should I switch vendors just for better nesting software?
Only if the yield gains justify the change. Compare total cost, including material waste, lead times, and quality. A 2% utilization gain may not cover the switching cost.