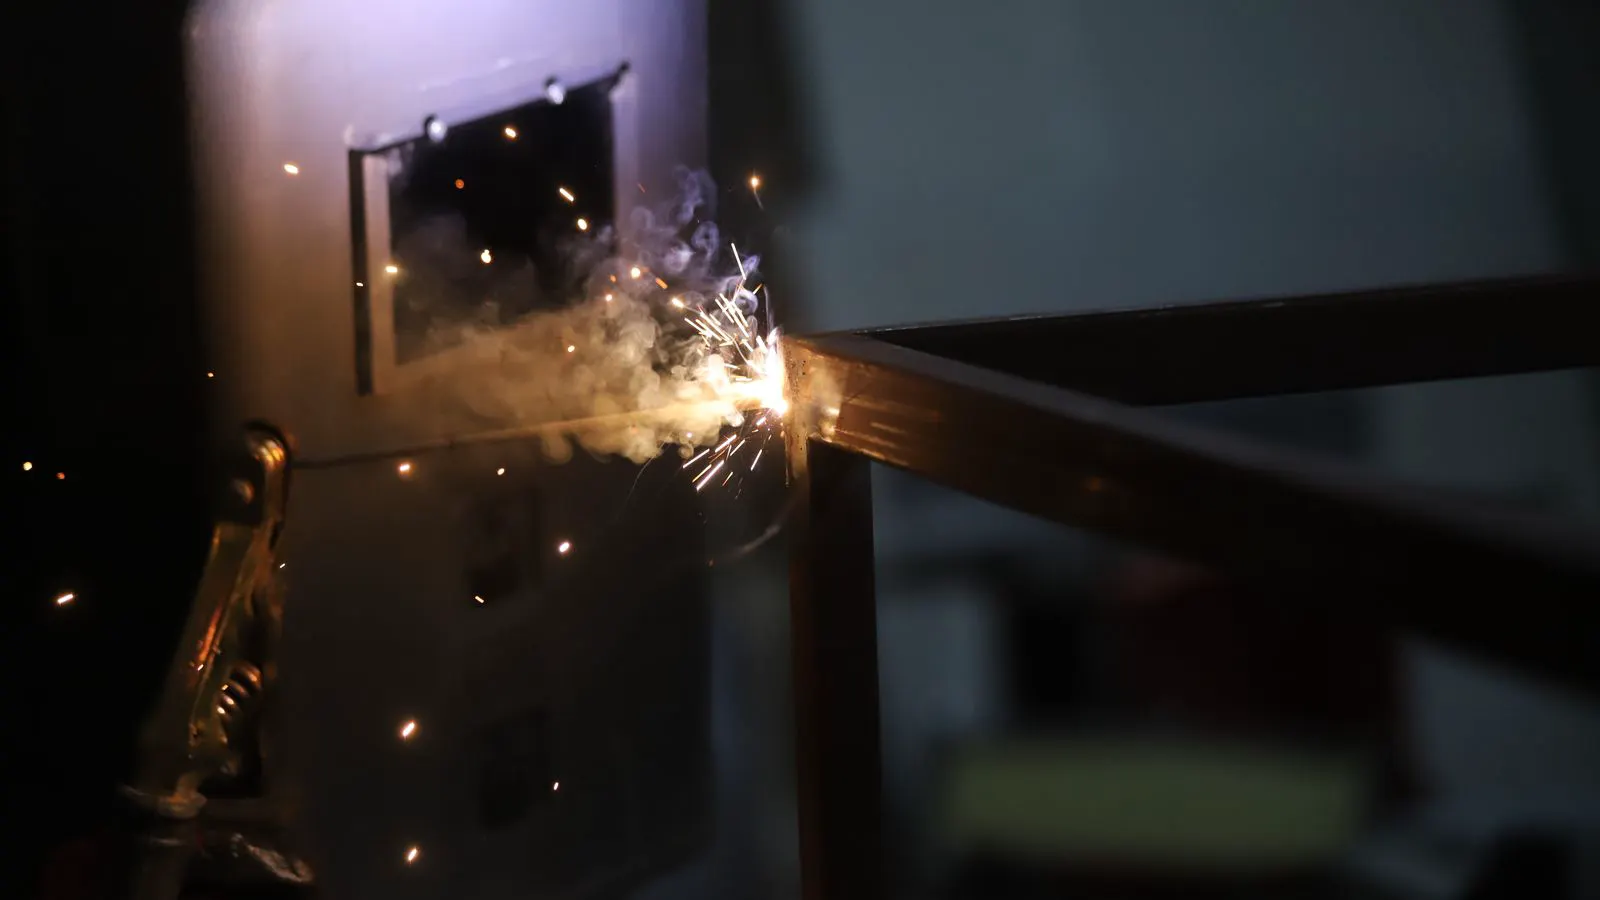
Uneven weld bead inconsistency often comes from unstable travel speed, inconsistent amperage, poor fit-up, or incorrect shielding gas flow. This guide lists common symptoms, likely causes, and targeted fixes, then covers prevention steps to keep finished sheet metal parts within spec.
- Uneven weld bead inconsistency usually starts with unstable travel speed or inconsistent amperage.
- Check fit-up, gas flow, electrode condition, and machine settings before blaming the operator.
- Standardize pre-weld checks and use visual plus dimensional inspection to catch defects early.
- Document findings to support first article approval and future RFQ specifications.
- Prevent repeat defects by training operators on consistent technique and verifying weld parameters.
What causes uneven weld bead profiles on sheet metal parts
Weld bead inconsistency shows up as uneven bead height, width, or spacing along a joint. On finished sheet metal parts, this can compromise appearance, fit, and structural reliability. The root causes are rarely random. They usually trace back to one of four areas: operator technique, machine settings, fit-up, or consumables.
Travel speed is the most common variable. If the welder moves too fast, the bead becomes narrow with shallow penetration. If the speed slows, the bead widens and may overlap the edges of the joint. Even small speed changes create visible steps in the bead profile.
Machine settings matter as much as technique. Amperage, voltage, gas flow, and duty cycle must be stable. A fluctuating amperage setting can create a bead that looks normal for a few inches, then thins out or bulges. Inconsistent voltage can do the same. Gas flow is often overlooked. Too little shielding gas creates porosity and uneven surface texture. Too much can cause turbulence and oxide contamination.
Fit-up also affects the final profile. If the gap between parts changes along the joint, the welder will compensate instinctively. That compensation shows up as a bead that changes width or height. Poor alignment, uneven clamping, or thermal distortion during the weld cycle all contribute to inconsistent gaps.
Consumables add another layer of variation. A worn electrode tip can cause arc instability. A clogged gas lens can reduce shielding flow. A dirty contact tip can introduce resistance into the circuit. Each of these changes the heat input and the shape of the molten pool.
How to identify the specific symptom in the field
Symptoms of weld bead inconsistency vary by joint type and material. A good inspection starts by separating the visual defect from the dimensional defect. A bead may look smooth but still be outside tolerance for height or width. A bead may look rough but still have adequate penetration.
Start with a simple visual check under good lighting. Look for a change in bead width, height, or spacing. Check the toe where the bead meets the base metal. Check the cap for uniformity. Look for undercut, overlap, or porosity. Porosity often appears as small dimples or pits on the bead surface. Undercut shows up as a groove along the toe. Overlap shows up as excess metal sitting on top of the joint.
Then measure the bead profile. A bead height gauge or a simple ruler with a calibrated scale can give a quick read. For critical parts, a profile projector or a coordinate measuring machine gives a precise trace. Record the measurements at regular intervals along the joint. A pattern often reveals the cause. A gradual change suggests a drift in machine settings or gas flow. A sudden change suggests a fit-up shift or a consumable failure.
Check the base metal condition too. If the edges are uneven or contaminated, the welder may be trying to compensate for a poor joint. Oxide, paint, or oil on the edges can change the arc behavior. A bead that looks inconsistent may actually be a correct response to an inconsistent joint.
Troubleshooting table: common symptoms, causes, and fixes
The table below lists the most common symptoms of weld bead inconsistency, the likely causes, and the corrective actions that usually resolve them.
| Symptom | Likely cause | What to do |
|---|---|---|
| Bead width changes along the joint | Unstable travel speed or inconsistent amperage | Verify machine settings, check for amperage drift, and standardize travel speed with a guide or fixture |
| Bead height is uneven | Poor fit-up or gap variation | Recheck clamping, align parts with shims, and use a consistent tack weld spacing |
| Porosity in the bead | Low shielding gas flow or contaminated base metal | Clean the joint, check gas flow rate, replace gas lens, and verify nozzle condition |
| Undercut at the toe | Excess amperage or too fast a travel speed | Reduce amperage, slow travel speed, and adjust the electrode angle for better heat input |
| Overlap or excessive bead profile | Too slow a travel speed or excessive amperage | Increase travel speed, reduce amperage, and adjust the electrode angle to reduce heat buildup |
| Arc instability or spatter | Worn electrode tip, dirty contact, or unstable gas flow | Replace the electrode tip, clean the contact, and verify gas flow and shielding |
When multiple symptoms appear together, the cause is usually in the setup rather than the operator. A single operator can produce a consistent bead on a well-fitted joint with stable settings. If the same operator produces inconsistent beads on similar parts, the joint or the machine is likely the issue.
What to check before you blame the operator
It is easy to point at technique when a bead looks wrong. Technique matters, but a lot of bead inconsistency is not a technique problem. Before you coach an operator, check the setup.
First, check the machine settings. Verify that amperage and voltage are set for the material thickness and joint type. Confirm that the gas flow is within the recommended range for the welding process. Check the electrode stick-out length. A longer stick-out changes the arc length and the heat input. A shorter stick-out can cause contact with the part or the workpiece.
Second, check the joint. Measure the gap at several points along the joint. Check the alignment. Look for burrs, paint, or oxide on the edges. If the gap varies, the welder will have to compensate, and that compensation creates an inconsistent bead. Fix the fit-up before you ask the operator to weld.
Third, check the consumables. Inspect the electrode tip for wear or damage. Clean the contact tip and nozzle. Replace the gas lens if it is clogged. Check the electrode for proper size and type for the material. A wrong electrode can change the bead shape and the penetration depth.
Fourth, check the workholding. Clamps and fixtures should hold the parts in a consistent position. If the parts shift during welding, the gap changes and the bead changes. Thermal distortion can also move the parts. Pre-weld fixturing or tacking at regular intervals helps hold the joint.
How to standardize the welding process to prevent repeat defects
Prevention is more effective than troubleshooting. A consistent process reduces variation. It also makes it easier to diagnose problems when they do appear.
Standardize the setup. Document the amperage, voltage, gas flow, electrode type, and stick-out length for each material thickness and joint type. Put the settings on a sheet taped to the machine or in the work instruction. Operators can then verify the settings before they start.
Standardize the fit-up. Define the acceptable gap and alignment for each joint. Use fixtures or jigs to hold the parts in position. If a jig is not available, use tacks at regular intervals to hold the alignment. Check the gap after tacking and before full welding.
Standardize the cleaning. Specify the cleaning method for each material. For stainless steel, use a dedicated wire brush and remove all oxide. For mild steel, remove paint, oil, and rust. For aluminum, use a mechanical method and a dedicated brush. Cleaning reduces porosity and arc instability.
Standardize the inspection. Define what a good bead looks like for each joint type. Use a visual checklist. Measure bead height and width at defined intervals. Record the results. If the bead is out of spec, rework it and document the reason. Over time, the data shows patterns. If one operator, one machine, or one joint type produces more defects, you can target the root cause.
How to specify weld quality in RFQs and inspection requirements
If you are specifying sheet metal parts with welded joints, make the weld quality requirements explicit. A vague instruction like weld it well does not give the fabricator enough to work with. Define the process, the material, and the acceptance criteria.
Specify the welding process. MIG, TIG, and spot welding all produce different bead shapes and different defect risks. The process must match the material thickness and the joint type. For thin sheet metal, TIG often gives a cleaner bead with less distortion. For thicker sections, MIG may be more productive.
Specify the acceptance criteria. Define the maximum bead height and width. Define the maximum undercut depth. Define the porosity limits. State whether visual inspection, dimensional inspection, or non-destructive testing is required. For critical joints, specify the type of non-destructive testing and the acceptance criteria.
Reference the inspection standard in the RFQ. Use the standard for visual inspection and dimensional measurement. This gives both parties a common reference. It also makes it easier to dispute a non-conformance. If the bead is out of spec, you can point to the requirement and the measurement.
Include the first article inspection in the RFQ. The first article inspection should verify the weld process, the fit-up, and the bead profile. It should also verify that the inspection method is working. If the first article passes, the production run is more likely to pass. If it fails, the problem is caught before you commit to a full quantity.
How to respond when a weld bead fails inspection
A failed weld bead is not the end of the part. It is a data point. The goal is to fix the root cause, not just rework the bead.
Start by recording the defect. Take a photo. Measure the bead height and width. Note the location of the defect along the joint. Note the material thickness and the joint type. This information helps you identify the pattern. If the defect is at the start of the joint, it may be a technique issue. If it is along the middle, it may be a machine or gas issue. If it is at the end, it may be a fit-up or cooling issue.
Then rework the bead. Remove the defective section. Clean the area. Check the fit-up. Weld the joint with the corrected settings. Inspect the new bead. If the new bead is consistent, the root cause is likely in the setup. If the new bead is still inconsistent, the root cause is likely in the fit-up or the material.
Document the corrective action. Note what you changed. Note the settings before and after. Note the fit-up correction. This documentation helps the next operator and the next part. It also supports your quality records if a customer asks for a corrective action report.
If the defect repeats, escalate the problem. Bring in the welding engineer or the process specialist. Review the machine calibration. Check the gas supply. Verify the electrode condition. Do not keep reworking beads without finding the root cause. The cost of rework can quickly exceed the cost of a proper fix.
Frequently asked questions
Can weld bead inconsistency be caused by the material thickness?
Yes. Different thicknesses require different amperage, voltage, and gas flow. If the settings are not adjusted for the thickness, the bead profile will change.
Is a rough bead surface always a sign of poor weld quality?
Not always. A rough surface can come from spatter or arc instability. It may still have adequate penetration. Judge the bead by penetration, width, height, and toe condition, not just surface finish.
How often should I check the gas flow during a long weld?
Check it at the start, at the end, and if you notice a change in the bead appearance. Gas flow can drift due to regulator issues or a clogged lens.
What is the best way to keep the gap consistent along a joint?
Use fixtures or jigs. If that is not possible, use tacks at regular intervals and check the gap after tacking. Clamp the parts firmly to prevent movement during welding.
Should I rework a weld that is only slightly out of spec?
Yes, if the spec is strict and the joint is critical. A slight deviation can become a larger problem after heat treatment or surface finishing. Rework when in doubt.