Surface finish defects on sheet metal parts usually stem from handling, process parameters, or material preparation. This guide lists common symptoms, likely causes, and corrective actions to help buyers and engineers identify and resolve these issues before shipment.
- Surface finish defects are often caused by handling, tooling, or process parameter drift.
- A structured inspection checklist helps catch issues before final shipment.
- Corrective actions range from simple rework to full process recalibration.
- Prevention depends on clear specifications, proper material handling, and in-process checks.
- Documenting defect types and locations improves traceability and vendor communication.
How to Identify Surface Finish Defects Early
Sheet metal finish defects appear at different stages of production, from raw material storage to final coating. Catching them early saves rework costs and avoids customer complaints. A scratch on a raw coil becomes a visible flaw on a finished housing if no one checks the part during the forming stage. The cost to fix a defect is lowest at the source and highest at final shipment.
The most common defects include scratches, pits, corrosion, coating imperfections, and uneven surface texture. Each has a distinct cause, but they often share common roots like poor handling, contaminated surfaces, or inconsistent process settings. For example, a part that is scratched during transfer to the press will show the same line pattern on the final coating as if the scratch happened during polishing. The root cause is the same: uncontrolled contact between the metal and a hard or dirty object.
Buyers and engineers should not wait for final inspection to detect these issues. A quick visual check after each major operation, such as forming or coating, can reveal problems while they are still manageable. If a part is inspected after cutting and the edges are clean, the risk of edge-related defects during bending is lower. If the same part is inspected after bending and the inside of the bend shows discoloration, the tooling or press settings need adjustment before the batch continues. Stopping the line for a single bad part is cheaper than rejecting a pallet of finished goods.
Common Sheet Metal Finish Defects and Their Causes
The table below lists typical surface imperfections, their likely causes, and practical corrective actions. Use this as a starting point when reviewing finished parts or discussing quality concerns with a fabricator. It is a reference for the most frequent issues seen in production shops.
| Symptom | Likely cause | What to do |
|---|---|---|
| Fine scratches across the surface | Handling without protective film, abrasive tools, or improper storage | Inspect material handling procedures. Apply protective film to edges and faces. Use soft-jaw fixtures during forming. |
| Dark spots or discoloration | Heat discoloration from excessive bending radius or tool temperature | Adjust bend tooling and press settings. Verify tool clearance. Add cooling or reduce contact time. |
| Coating pinholes or blistering | Poor surface cleaning, moisture in the coating, or inadequate curing | Check pre-coating cleaning steps. Verify drying time. Confirm oven temperature and dwell time. |
| Galvanized surface pitting | Contaminated zinc bath, aggressive handling, or chemical exposure | Inspect galvanizing bath chemistry. Use non-abrasive tools. Apply protective oil or sealant after coating. |
| Uneven powder coating thickness | Inconsistent spray distance, improper static control, or mask placement | Calibrate spray equipment. Verify mask coverage. Run a test panel to confirm thickness before full production. |
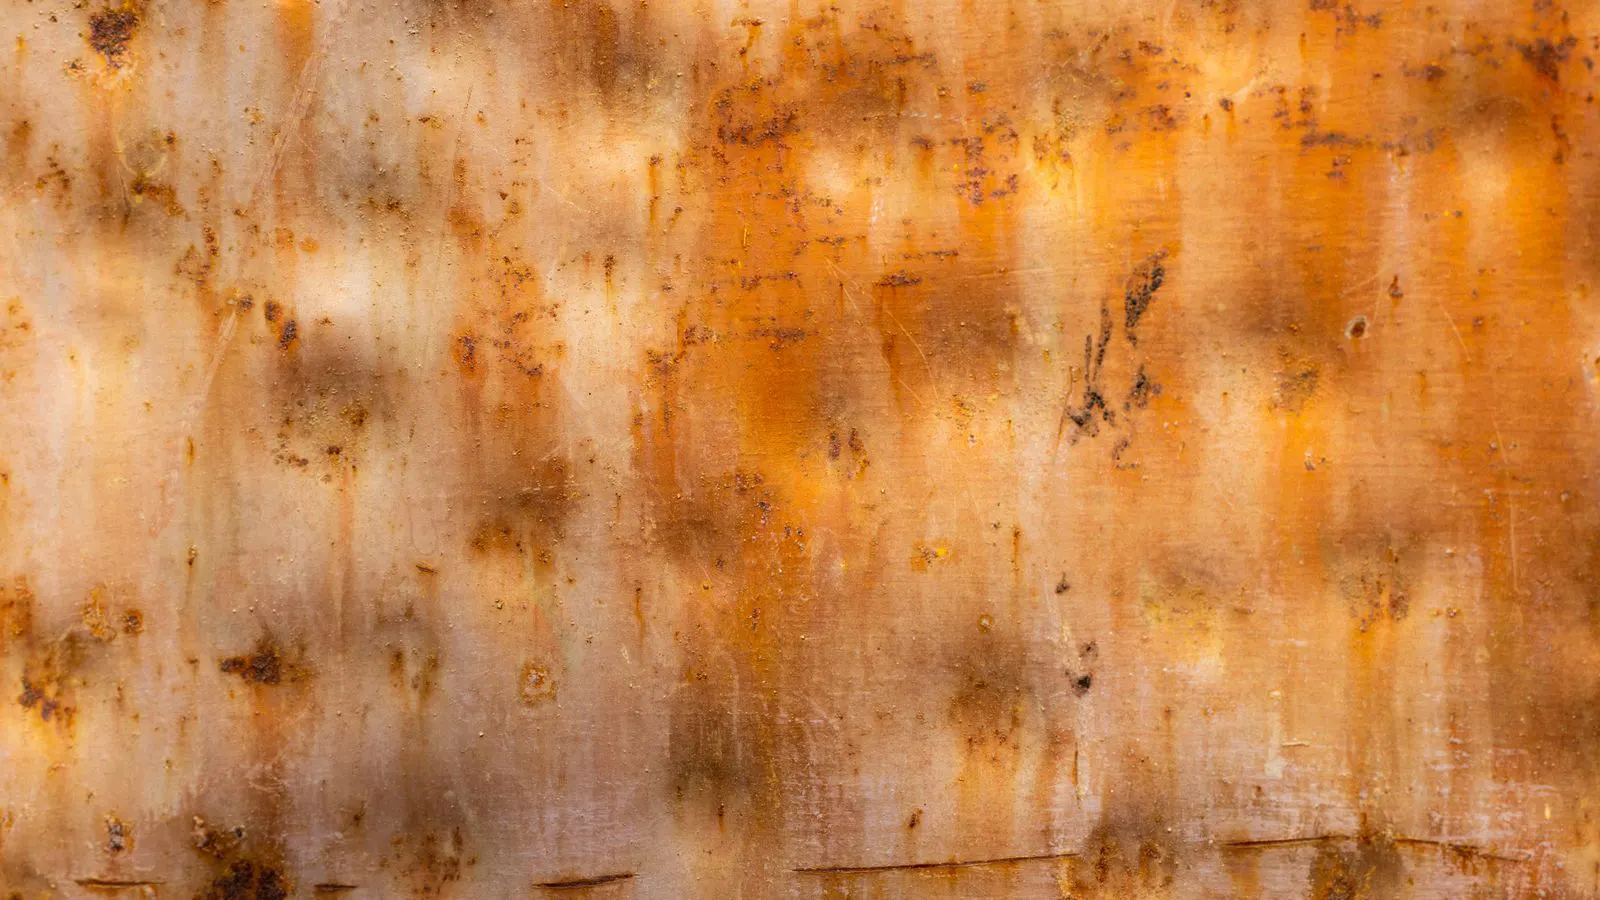
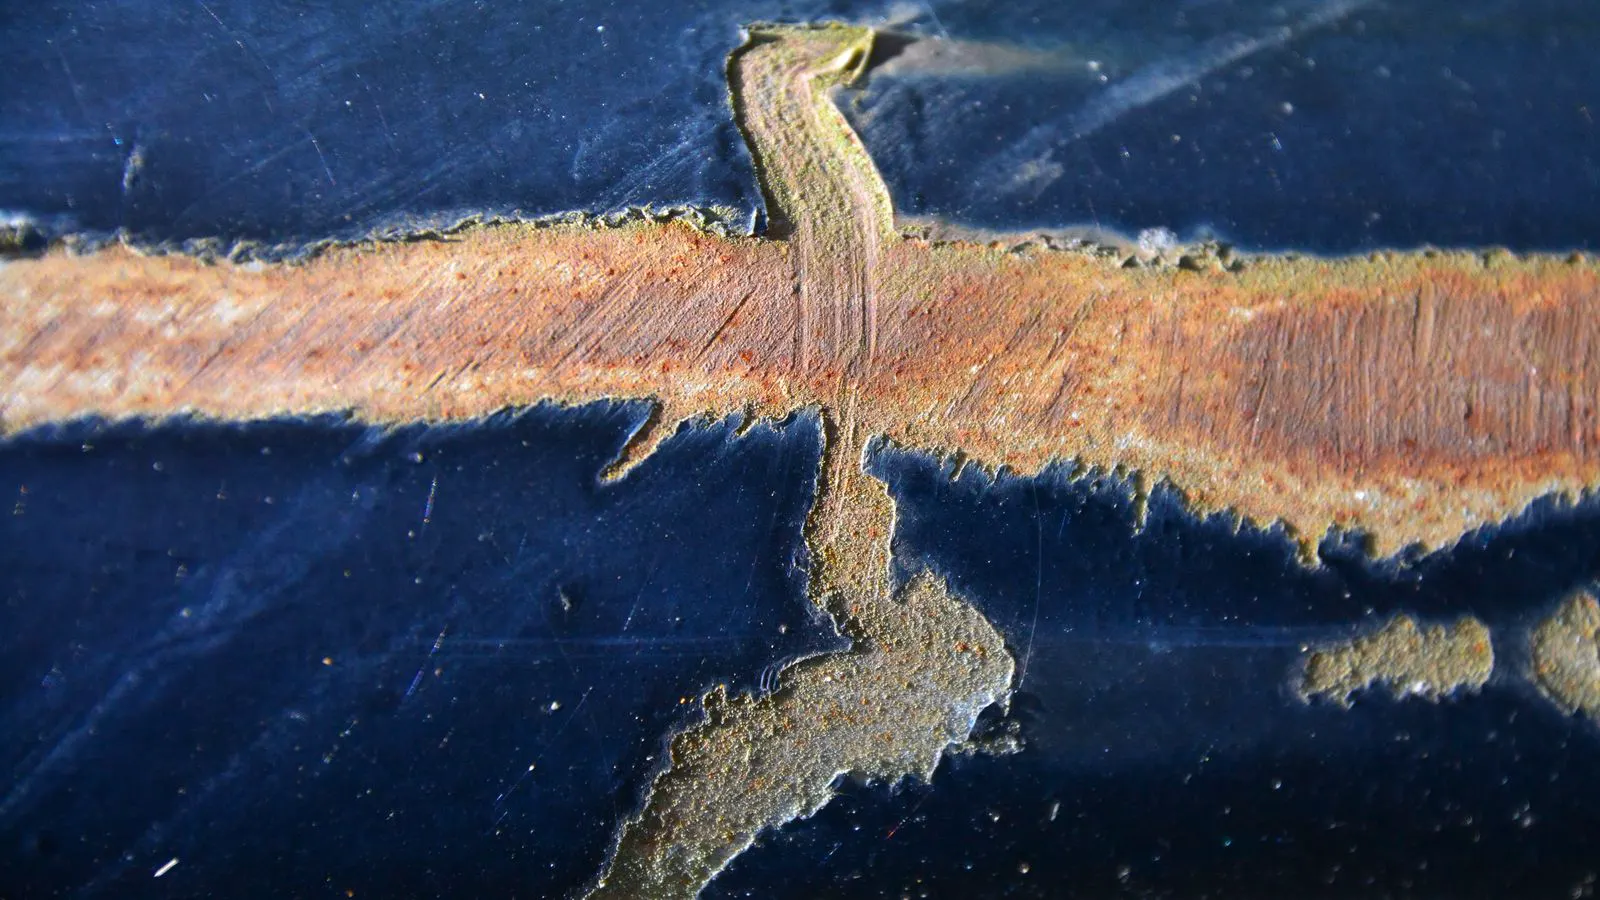
| Surface oxidation or rust | Prolonged exposure to moisture, insufficient passivation, or delayed coating | Apply passivation or conversion coating within the specified window. Store parts in dry conditions. Coat within the allowed time after machining. |
When reviewing a part, look for patterns. Scratches that run parallel to the grain of the sheet suggest a storage issue where the coil was unrolled against a rough surface. Pitting that clusters near the edges often points to a problem in the galvanizing bath, where the part was positioned incorrectly during the dip. Understanding the pattern helps pinpoint the root cause rather than guessing at a random handling error.
How to Correct Powder Coating Flaws
Powder coating is a common finish for sheet metal parts, but it is sensitive to surface preparation and application variables. When defects appear, the fix depends on where the problem starts. The powder itself is usually consistent, so the variable is almost always the part surface or the application environment.
If the coating looks blotchy or has visible dust, the issue is usually upstream. The part surface was not clean enough before application. Check the degreasing step. Look for oil residue, coolant, or handling fingerprints. Wipe the part with a clean, lint-free cloth and a solvent approved for the coating system. For parts with complex geometries, such as deep cavities or folded edges, use a compressed air blow-off step to remove loose particles. If the part comes from a machining center, ensure the coolant has been fully removed. Coolant residue creates localized boiling during the cure, which results in small craters or pinholes.
If the coating has pinholes or craters, the problem may be in the curing phase. Verify the oven temperature and time. If the part did not reach the required cure temperature, the powder will not flow and level properly. Increase the dwell time or check for hot spots and cold spots in the oven. A part that sits on the edge of the rack, away from the heating elements, may not cure fully. This often happens with large parts that take longer to heat through. Ensure the oven has enough capacity to handle the load without thermal stratification.
For thicker, uneven coating areas, review the spray distance and mask placement. Too close, and the powder will not level. Too far, and the coverage will be thin. Run a test panel before starting a full batch. The test panel should mimic the production part in material type, thickness, and geometry. This allows the operator to adjust the spray gun settings, such as voltage and flow rate, before committing to the production run. If the test panel shows a buildup of powder on the edges, the mask may be too close, trapping the powder against the metal.
How to Address Galvanized Surface Issues
Galvanized sheet metal is durable, but the zinc coating can develop surface issues if not handled correctly. Pitting, white rust, and uneven zinc thickness are the most common problems. These issues often relate to the environment after the zinc coating is applied, as the coating is sacrificial and reacts with moisture.
Pitting often comes from contamination in the zinc bath or from aggressive cleaning before galvanizing. If the part is already pitted, you may need to strip the coating and re-galvanize. For mild pitting, a light abrasive pass may be acceptable if the specification allows. Check the coating thickness in the affected area. If the zinc layer is still above the minimum specification, a light abrasion can smooth the surface without compromising the protective layer. If the pitting is deep, the structural integrity of the coating is compromised, and re-coating is necessary.
White rust is a form of corrosion that appears as a white or gray powder on the surface. It forms when the zinc is exposed to moisture and carbon dioxide. Prevent it by applying an oil or wax after galvanizing. Store parts in a dry, ventilated area. If white rust appears, remove it with a mild acid wash or a commercial zinc cleaner, then reapply protective coating. This is a temporary fix. The underlying cause is usually poor storage or delayed shipment. To prevent recurrence, ensure the parts are packaged in a way that limits air exchange and humidity exposure.
Uneven zinc thickness is usually a process issue. It can come from improper dip time, agitation, or part orientation in the tank. Work with the galvanizer to verify dip parameters. Adjust part positioning if certain edges or corners are consistently thinner or thicker. In a galvanizing tank, parts are often hung from a rack. If the rack is too close to the bottom of the tank, the parts may not be fully submerged during the dip. This results in thinner coating on the lower sections. Verify the rack height and the agitation rate to ensure the parts are moving through the bath evenly.
How to Prevent Surface Defects Before They Happen
Prevention is cheaper than rework. The best way to avoid sheet metal finish defects is to control the process from the start. This requires clear communication between the buyer and the fabricator and strict adherence to quality controls on the shop floor.
- Specify surface requirements clearly in the RFQ. State the finish type, acceptable tolerance, and inspection method. Include references to standard practices or internal quality guidelines. For example, specify that the powder coating must be free of visible defects under a 50-watt light at a 30-degree angle. This gives the fabricator a clear standard to meet.
- Control material handling. Use protective films on raw sheet metal. Avoid dragging parts across rough surfaces. Store parts on flat, clean racks. If the shop floor is dirty or cluttered, parts are more likely to pick up debris or get scratched during transfer.
- Verify tooling and fixtures. Bent edges and sharp corners can catch and scratch the finish. Deburr and chamfer edges before coating. A sharp edge on a sheet metal part can tear the protective film during handling. Deburring removes the risk and also prevents the coating from peeling at the edges during the cure.
- Monitor process parameters. Keep records of bend tooling, coating temperature, and curing time. Review these records when defects appear. If a batch of parts shows dark spots, check the bend tool temperature from that time. If the temperature was higher than usual, the tooling needs adjustment.
- Run a first-article inspection. Before starting a full production run, inspect a sample part. Confirm the finish meets the specification. This catches setup errors before they affect the entire batch. For example, if the spray gun is misaligned, the first part will show a thin edge. Catching this early avoids coating dozens of parts with a defect.
- Document defects. Take photos and note the location, part number, and process step. This information helps identify patterns and correct the root cause. If the same scratch appears on multiple parts at the same location, the issue is likely in a specific fixture or tool. Without documentation, the problem may be dismissed as a one-off error and reoccur later.
How to Communicate Defects to Your Fabricator
When you find a finish defect, provide clear, specific information. Do not just say the part is bad. Describe the defect, its location, and its extent. Vague feedback leads to vague corrections and repeated defects.
Include a photo or video if possible. A close-up image helps the fabricator identify the issue. Note whether the defect is on one part or across a batch. If it is across a batch, the cause is likely process-related. If it is on a single part, the cause may be handling or a one-off error. For example, if a scratch appears on the same part number but only on one unit, it may have occurred during packaging. If the scratch appears on five units in a row, the issue is likely in the forming process.
Ask the fabricator to provide a corrective action plan. This should include what went wrong, what they will do to fix it, and how they will prevent it from happening again. Request a revised inspection report or a rework plan before accepting the shipment. The corrective action plan should be specific. Instead of “we will be more careful,” the plan should state “we will replace the worn jaw on the forming press and re-inspect all parts in the current batch.”
If the defect is minor and does not affect function or appearance, you may agree to accept it. Document the acceptance. This protects both parties and creates a clear record. For example, if a small scratch is on the inside of a housing that is not visible during normal use, you can accept the part. However, you must write down that the scratch was accepted and note that it does not affect performance. This prevents future disputes if the same defect appears on a new batch.
How to Choose the Right Inspection Method
Visual inspection is the fastest way to detect surface finish defects, but it has limits. For critical parts, combine visual checks with other methods. The goal is to match the inspection effort to the risk and the specification.
Use a magnifying lamp or a borescope for hard-to-reach areas. Check for scratches, pits, and coating flaws that the eye may miss. For dimensional or structural concerns, use calipers or a CMM. For hidden defects, consider non-destructive testing, such as dye penetrant or ultrasonic inspection. A CMM is useful for verifying that the coating has not caused distortion in the part’s shape. Dye penetrant is useful for detecting cracks that may have formed during forming, which can compromise the coating’s adhesion.
The right method depends on the part and the risk. A simple cosmetic finish may only need a visual check. A structural part with a galvanized coating may need both visual inspection and a coating thickness test. If the part is used in a corrosive environment, a coating thickness test is necessary to ensure the zinc layer is thick enough to provide the required protection.
Match the inspection method to the specification. If the RFQ calls for a specific inspection level, follow it. If the specification is unclear, ask for clarification before production starts. A clear specification reduces ambiguity and ensures that both parties have the same expectation of quality.
Frequently asked questions
Can a scratched sheet metal part still be used if the scratch is on the inside?
It depends on the specification. If the scratch is hidden and does not affect function, it may be acceptable. Check the drawing or quality requirement before deciding.
What is the difference between white rust and normal rust on galvanized parts?
White rust is a form of zinc corrosion that appears as a white or gray powder. Normal rust is iron oxide. White rust usually forms when the zinc is exposed to moisture and carbon dioxide.
How do I know if a powder coating defect is a process issue or a handling issue?
Look at the pattern. If the defect is consistent across many parts, it is likely a process issue. If it appears on random parts or in specific areas, it may be a handling or storage issue.
Should I require a protective film on raw sheet metal?
Yes, for most applications. A protective film prevents scratches and handling damage. Specify the film type and removal method in the RFQ.
How long can a galvanized part sit before it needs to be coated?
It depends on the environment and the type of protective oil. Check the galvanizer's recommendation. Store parts in a dry, ventilated area to extend the time.