Verify sheet metal surface finish consistency by checking visual uniformity, coating thickness, and adhesion. This checklist helps procurement managers identify defects, review inspection reports, and confirm that parts meet specification requirements before approval.
- Visual inspection catches color variation, drips, and surface defects that automated systems may miss.
- Coating thickness and plating measurements must match the drawing specifications to prevent corrosion or aesthetic rejection.
- Review inspection reports and keep records of each batch for traceability and dispute resolution.
Why Finish Inspection Matters Before Approval
A finished part can pass dimensional checks and still fail on the bench if the surface finish is inconsistent. Procurement managers need a structured way to verify that every part in a batch meets the same visual and physical standards. The following checklist covers the core elements of sheet metal surface finish inspection, from raw material condition to final coating verification.
1. Verify Raw Material and Pre-Processing Condition
Before a coating or plating process begins, the base metal must be clean and free of defects. A dirty or scratched substrate will show through the final finish and cause adhesion problems later.
Checklist:
- Confirm material grade and batch. The material certificate should match the drawing requirements. A mismatch between the grade stated on the mill certificate and the grade required by the drawing can lead to incorrect processing parameters. For example, using a lower grade steel for a plating job may result in pitting or poor coating adhesion.
- Inspect for scratches or dents. Deep scratches on the base metal can telegraph through thin coatings. A scratch that extends past the thickness of the final finish will remain visible and may create a stress concentration point that leads to early failure.
- Check for grease or oil residue. Oils from cutting or forming can create poor adhesion and cause blotchy patches after coating. These residues often originate from hydraulic presses or laser cutting heads. If not removed, they trap air bubbles under the coating, resulting in pinholes or poor coverage.
- Review pre-treatment records. If the process uses cleaning or degreasing, confirm the lot was cleaned before finishing. Pre-treatment usually involves degreasing, etching, and rinsing. Skipping the etching step, for instance, can leave a passive layer on the surface that prevents the coating from bonding properly.
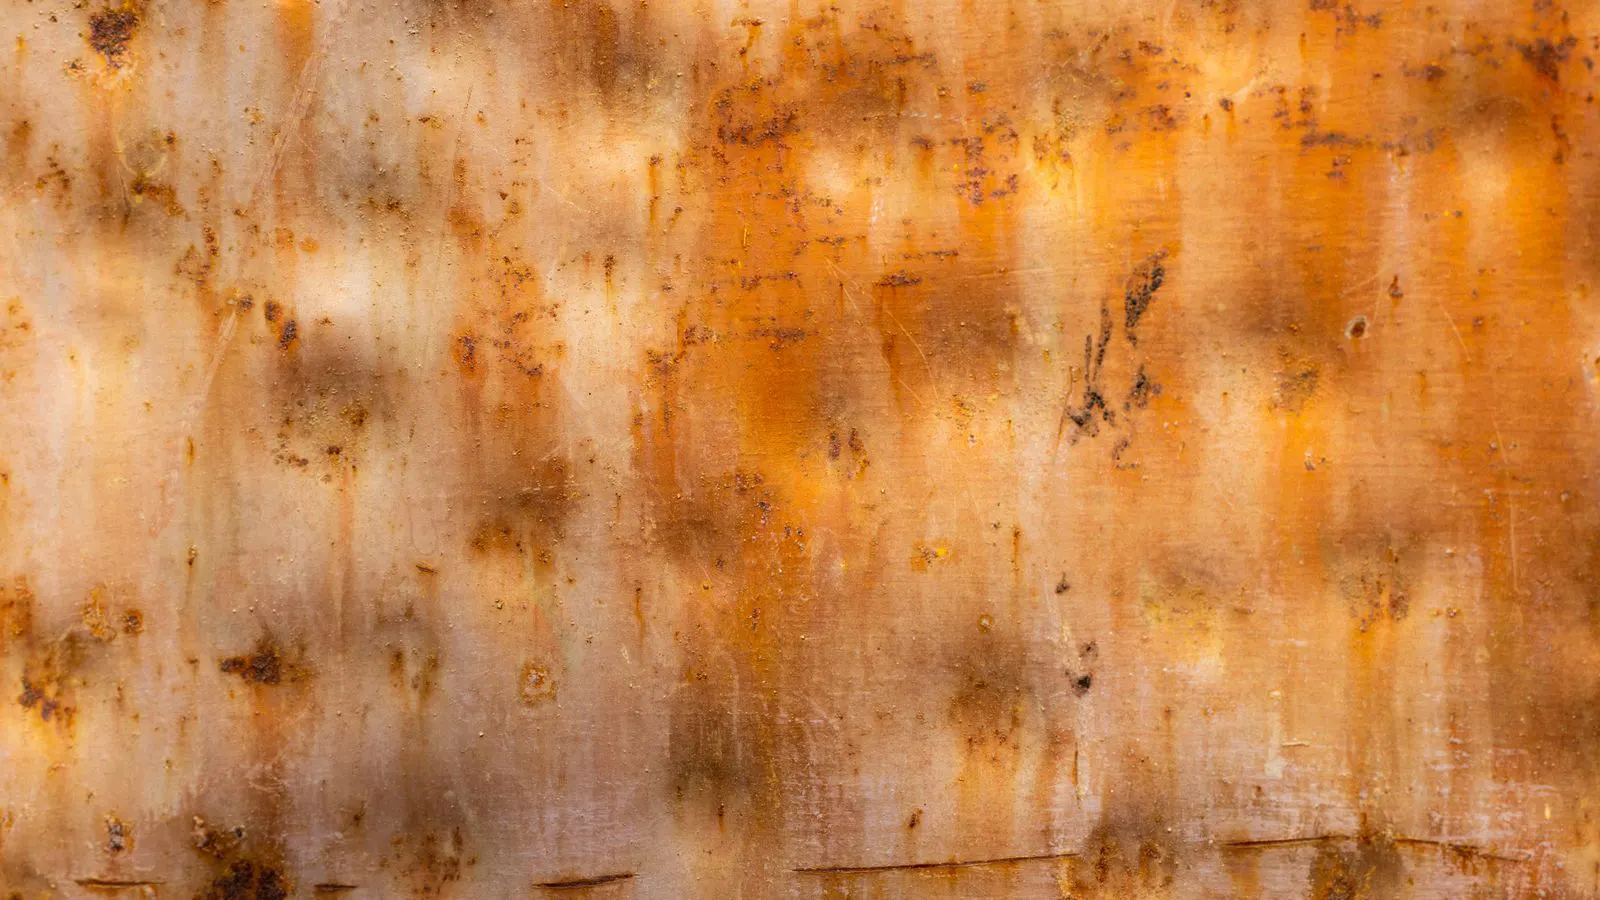
Red flags: visible oil spots, rust patches, or deep tool marks on the base metal. If these are present, the part will likely fail after coating, and rework will cost more than starting over.
2. Assess Visual Uniformity of the Final Surface
Visual checks are the first line of defense. They catch color variation, texture issues, and obvious defects that measurements cannot always detect.
Checklist:
- Compare against the approved sample. Hold the finished part next to the golden sample or approved prototype under the same lighting. Lighting conditions matter significantly. Inspect the part under neutral white light, ideally 5000 Kelvin, to avoid color distortion caused by warm or cool bulbs.
- Look for color variation. Even a subtle shift in hue across the panel can be visible in a finished assembly. Check the center of the panel against the edges. Color variation often occurs if the spray pattern is uneven or if the part sits too close to the spray gun during application.
- Check for drips, runs, or sagging. These usually appear on vertical surfaces and indicate improper spray thickness or drying time. If the coating is too thick, gravity pulls it downward before it cures. This creates a thick, runny band at the bottom of the part.
- Inspect edges and corners. Edges often receive a different thickness than flat areas. Look for build-up, bare spots, or uneven coverage. In powder coating, edges can sometimes be too thin because the powder charges are less likely to stick to sharp edges during the spray process.
- Evaluate texture consistency. A matte finish should look matte across the whole part, not patchy. A gloss finish should reflect light evenly. Inconsistencies in texture often indicate that the part temperature was not uniform during the cure cycle.
Red flags: visible streaks, orange peel (a dimpled texture that looks like an orange rind), or uneven color under direct light. Orange peel is common in powder coating and can be difficult to remove once cured.
3. Measure Coating Thickness and Plating
Visual checks are not enough. Thickness measurements confirm that the coating is thick enough to protect the metal and thin enough to maintain the part’s fit.
Checklist:
- Use a calibrated thickness gauge. A magnetic or eddy current gauge is standard for ferrous metals. Ensure the gauge head is clean and free of debris. A dirty probe can give false readings.
- Take multiple readings per part. Do not rely on a single spot. Take readings at least three times per face and on edges. Measure the center of the part, near the edges, and in areas with complex geometry.
- Compare against the specification. If the drawing calls for a range, ensure every reading falls within it. For example, if the spec is 30 to 50 microns, a reading of 29 microns is a failure, even if the average for the batch is higher.
- Check critical zones. Areas near fasteners, holes, and edges are most likely to have thin spots. These areas experience high stress and are prone to wear. A thin coating here offers little protection and can lead to corrosion.
- Record the data. Keep a log of thickness values for each part or batch. This creates a traceable record for audits. If a part fails in the field, you need to know the exact thickness at the time of manufacture to determine if it was a process error or a design flaw.
Red flags: readings that cluster at the low end of the range, or a single reading that is far below the minimum. A low reading suggests an equipment issue or a part that did not receive a full pass.
4. Evaluate Adhesion and Durability
A thick coating that flakes off in the first week is useless. Adhesion tests confirm that the finish is bonded to the metal.
Checklist:
- Review the adhesion test method. Common methods include cross-cut, pull-off, and tape tests. The method must match the standard required by the drawing. For example, a cross-cut test is often used for quick checks, while a pull-off test provides a more quantitative measure of adhesion strength.
- Check the test results. The supplier should provide a report showing the pass/fail status. The report should include the date of the test, the method used, and the specific results.
- Look for flaking or peeling on the sample. If a test coupon shows separation, the whole batch is at risk. Inspect the edges of the cut lines. If the coating lifts easily, the bond is weak.
- Verify corrosion resistance. If the part is used in a wet or chemical environment, ask for salt spray or immersion test results. These tests simulate corrosive conditions and reveal how well the coating holds up over time.
Red flags: flaking at the edges of a cross-cut test, or a coating that bubbles after a salt spray test. Bubbles indicate trapped moisture or poor surface preparation.
5. Review Documentation and Traceability
The documents are as important as the parts. Without them, you cannot prove that a batch met the required standards.
Checklist:
- Request a Certificate of Conformance (CoC). This confirms the parts were made to the drawing and passed all required tests. The CoC should reference the specific drawing number, revision, and batch number.
- Check for inspection reports. The report should list the tests performed, the equipment used, and the pass/fail results. Look for specific data points, such as thickness values or adhesion scores, rather than just a “passed” stamp.
- Verify calibration records. The thickness gauge and other measuring instruments must have been calibrated recently. Ask for the last calibration date and the next due date. If the instrument is due for calibration in the near future, the readings may be unreliable.
- Confirm batch traceability. Each part or batch should have a unique identifier linked to the material and process records. This allows you to trace a specific part back to the raw material lot and the specific machine used for finishing.
Red flags: missing calibration dates, vague test descriptions, or no link between the part and the raw material. If the supplier cannot trace a part back to its material batch, the risk of hidden defects increases.
6. Check for Common Defects Specific to the Process
Different finishing processes have their own failure modes. Knowing these helps you spot problems quickly.
| Process | Common Defect | What It Looks Like |
|---|---|---|
| Powder Coating | Orange Peel | Dimpled, uneven texture that catches light |
| Powder Coating | Drips | Thick, runny areas on vertical surfaces |
| Zinc Plating | White Rust | Whitish discoloration on the surface |
| Zinc Plating | Blistering | Small bubbles or bumps under the plating |
| Powder Coating | Bare Spots | Uncovered metal in corners or near fasteners |
| Anodizing | Hazy Finish | Cloudy, non-uniform appearance on the surface |
Red flags: any defect that appears consistently in the same location on multiple parts. This usually points to a fixture or process issue, not a one-off mistake. For example, if every part has a bare spot in the exact same corner, the fixture is likely holding the part too close to the spray nozzle or blocking the flow of powder.
7. Confirm Final Acceptance Criteria
The last step is to agree on what “good” looks like before you approve the batch. This prevents disputes later.
Checklist:
- Define acceptable variation. How much color shift is allowed? How many defects per square meter are acceptable? Set clear limits for each type of defect. For example, a small scratch less than 1 mm long in an inconspicuous area might be acceptable, while a scratch across the center of a visible panel is not.
- Set a defect rating scale. Use a simple scale, such as 1 to 5, to rate each defect type. This ensures that both you and the supplier are using the same criteria when evaluating a part.
- Agree on rework terms. If a batch fails, who pays for rework? What is the timeline? It is better to define this in the contract than to argue over it after the fact.
- Keep the approved sample. Store the golden sample in a controlled environment so it does not fade or change over time. A sample kept in a bright, warm room will degrade and no longer represent the original standard. Store it in a drawer away from direct sunlight and heat sources.
Red flags: vague acceptance criteria or a supplier who refuses to provide a sample for comparison. If the standard is not written down, it is not a standard.
Final Thoughts
Sheet metal surface finish inspection is a combination of visual checks, measurements, and documentation. A systematic approach catches problems early and prevents costly rework. Use this checklist to verify each batch, keep the records, and hold the supplier accountable to the agreed standard.
Frequently asked questions
What is the most common sheet metal surface finish defect?
In powder coating, orange peel and drips are common. In zinc plating, white rust and blistering are frequent. The specific defect depends on the process and surface preparation.
How often should I check coating thickness?
Check every part in a small batch or a sample from a large batch. For high-volume production, take readings at regular intervals and after any process change.
Can I use a visual check to replace thickness measurement?
No. A visual check can catch obvious defects, but it cannot confirm that the coating is thick enough to protect the metal. Thickness measurement is required for corrosion protection.
What if the supplier does not provide an adhesion test report?
Ask for it before approving the batch. If the supplier cannot provide the report, perform a simple cross-cut test on the sample. If the coating flakes, reject the batch.
How do I handle a batch with minor defects?
Define what "minor" means in your acceptance criteria. If the defects are within the agreed limit, accept the batch. If they exceed the limit, request rework or a credit. Keep the records for future reference.