Use sheet metal design tips to lower fabrication cost by minimizing welds and fixturing. Key rules include using snap fits, reducing part count, and aligning features for efficient assembly.
- Integrate flanges and features to replace separate parts and bolts.
- Minimize welds by using snap fits, tabs, or rivets where strength allows.
- Align parts for gravity-fed or single-sided assembly to cut fixturing time.
Designing sheet metal components often focuses on aesthetics and function, but the biggest cost savings happen before the first cut is made. Many engineers underestimate how much their layout decisions affect downstream labor and materials. A part that looks simple on a CAD screen can become expensive to manufacture if it requires excessive fixturing or complex welding.
Design for manufacturability (DFM) is the practice of shaping a product so it can be produced efficiently with the available equipment and labor. For sheet metal, this means prioritizing designs that minimize secondary operations. The goal is not just to make the part cheaper, but to make the assembly process faster and less error-prone.
How Flange Integration Reduces Part Count
One of the most effective sheet metal design tips is to integrate features that would normally be separate parts. Instead of welding a separate gusset or bracket to a main panel, bend the material itself to create that feature. This reduces the number of individual pieces that need to be cut, finished, and positioned.
When you reduce the part count, you reduce the need for fasteners, welding, and alignment tools. Each additional part increases the chance of misalignment, which often requires extra clamping or tacking during fabrication. By using the material’s thickness to create structural elements, you simplify the assembly sequence.
| Feature | Separate Part Approach | Integrated Flange Approach |
|---|---|---|
| Gussets | Welded, requires alignment | Bended from main sheet |
| Lugs | Drilled, riveted, or welded | Bended for alignment |
| Brackets | Machined or fabricated separately | Bended from same stock |
| Edges | Rolled or welded | Bended with a hem |
Consider a control box cover. A traditional design might use a separate bottom flange that is welded to the main panel. An integrated design bends the bottom edge of the same sheet. This eliminates one cut, a welding station, and the need for a jig to hold the two pieces perfectly square.
Minimizing Welds Through Snap and Tab Design
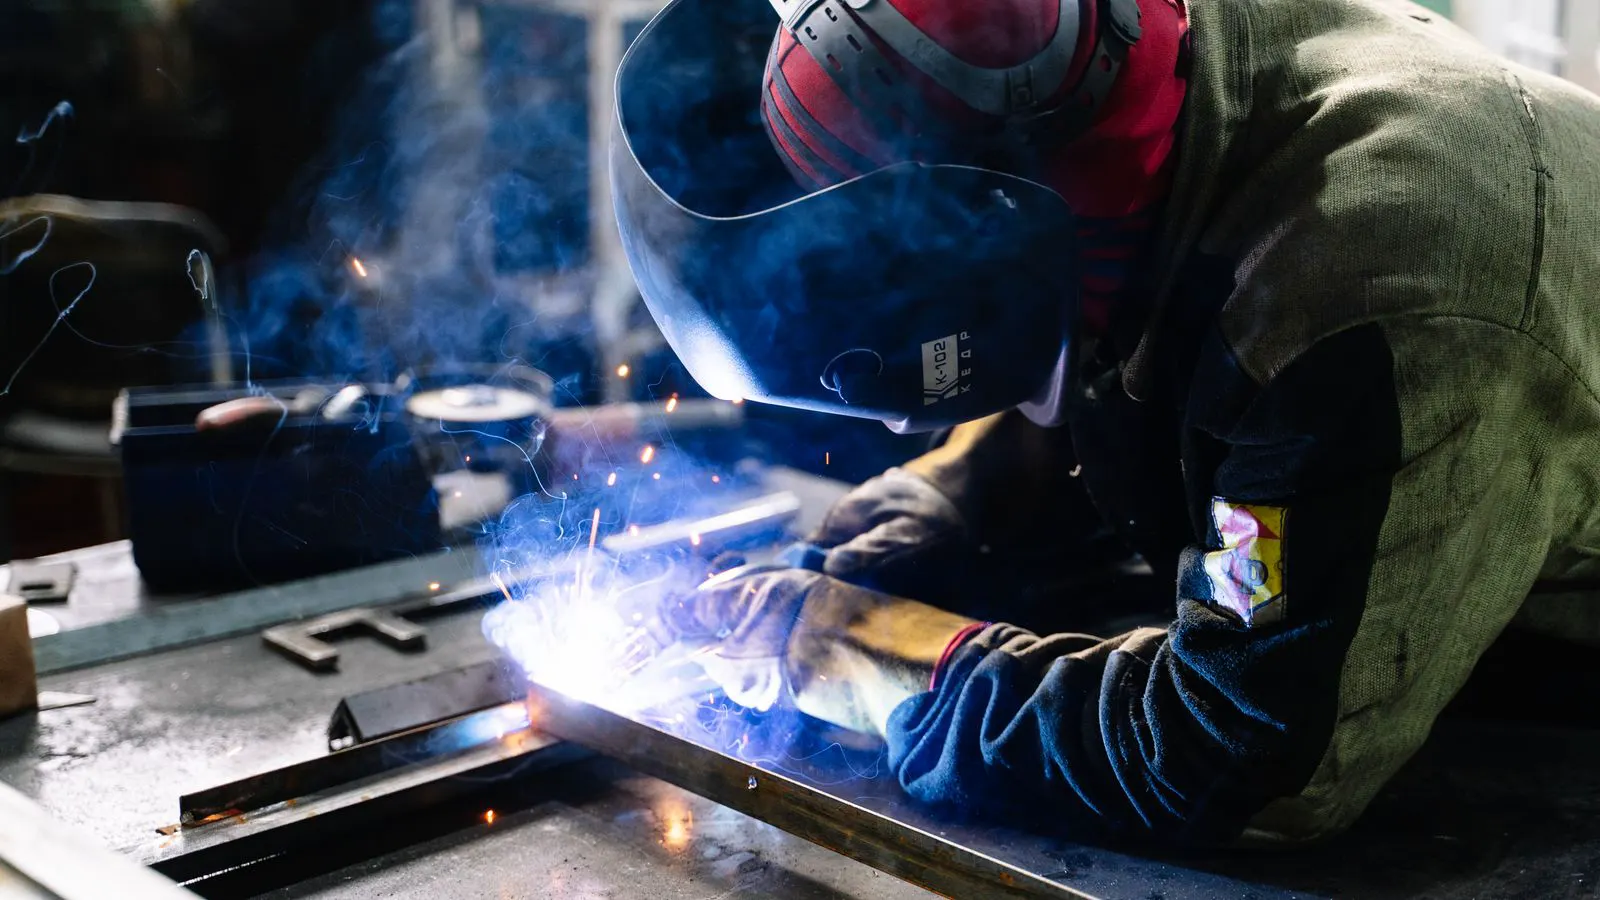
Welding is a reliable method for sheet metal assembly, but it is labor-intensive and requires skilled operators. It also creates heat-affected zones that can distort thin materials, leading to additional straightening work. Wherever possible, sheet metal design tips recommend replacing welds with mechanical fastening or passive connections.
Snap fits, tabs, and interlocking features allow parts to be assembled without tools or adhesives. These features are particularly useful for enclosures, covers, and modular components. A well-designed tab can hold a panel in place with enough friction to prevent vibration without the need for screws.
Using tabs requires precise tolerances. The designer must ensure that the tabs are thick enough to withstand the load but thin enough to bend without cracking. If the design is too tight, the assembly will be difficult. If it is too loose, the part will rattle. Engineers should work with the fabricator early to determine the optimal thickness and angle for these features.
In some cases, rivets are a better alternative to welding. Rivets can be installed quickly and do not require a welder. They are also easier to remove for maintenance. For high-volume production, riveting can be significantly faster than welding, especially when the parts are aligned using simple fixtures.
Aligning Parts for Efficient Fixturing
Fixturing is the process of holding parts in place during manufacturing. Complex parts often require custom jigs, clamps, and alignment pins. These tools take time to build and add to the overall project cost. A key sheet metal design tip is to design parts that align themselves or require minimal clamping.
This can be achieved by using locating features like dowel pins, flat surfaces, or chamfered edges. If two parts have a common flat surface and a consistent bend angle, they can often be placed against a table or bench and clamped with simple bar clamps. This eliminates the need for a complex welded fixture.
Gravity is also a powerful tool. If a part is designed to drop into place, assembly time is reduced. For example, a cover with a lip that fits over a frame can be lowered into position without lifting or sliding. This “drop-in” design reduces the need for multiple people to lift and align heavy panels.
Standardizing Bends and Hole Patterns
Sheet metal fabrication relies heavily on press brakes and punch presses. These machines have standard tooling and setups. Using non-standard bend radii or hole patterns increases the setup time and cost. Designers should stick to common bend angles, such as 90 degrees and 180 degrees, unless a specific function requires otherwise.
Hole patterns should be standardized where possible. Using standard bolt circles or screw hole sizes allows the fabricator to reuse punch dies and drill bits. This reduces the time spent changing tooling between parts. If a design requires a unique hole pattern for every part, the cost will be higher due to the need for custom tooling or manual drilling.
Furthermore, grouping similar features can help. If a panel has multiple holes, placing them in a consistent grid or pattern allows the fabricator to use a multi-point punch or a simple template. This speeds up the punching process and reduces the risk of errors.
Material Selection and Thickness
The choice of material and thickness directly impacts fabrication cost. Thicker materials are harder to bend and require more force from the press brake. They also produce more burrs and require more finishing work. If the design allows, using a thinner gauge material can reduce costs and make the part easier to handle.
However, thickness must be balanced with structural requirements. A part that is too thin will deflect under load or fail in bending. The designer should calculate the required load and select the thinnest material that meets the safety and performance criteria.
Also, consider the type of material. Standard steel is generally cheaper and easier to fabricate than stainless steel or aluminum. If the application allows, using standard steel can reduce both material costs and fabrication time. Stainless steel, for example, requires different tooling and is more difficult to cut and bend. It also requires more care during welding to prevent corrosion.
Collaboration with the Fabricator
The final sheet metal design tip is to involve the fabrication team early in the design process. Fabricators have years of experience dealing with materials and machines. They can identify potential issues before the design is finalized.
A design that looks good on paper might be difficult to manufacture due to tooling limitations or assembly constraints. By reviewing the design with the fabricator, engineers can make small adjustments that have a significant impact on cost. For example, moving a hole by a few millimeters might allow it to be punched in the same pass as another hole, saving time.
This collaboration is a key part of design for manufacturability. It ensures that the design is not only functional but also efficient to produce. It also builds a better relationship with the supplier, leading to smoother communication and faster turnaround times on future projects.
Frequently asked questions
Can I replace all welding with snap fits?
No, snap fits are best for light-duty applications. Heavy loads or high-vibration environments still require welding or rivets for structural integrity.
How much does reducing part count save?
Savings vary by project, but reducing parts typically lowers costs by cutting material, labor, and assembly time. The exact amount depends on the complexity of the original design.
What is the main risk of using thin material?
Thin material is more prone to distortion during bending and may not meet the required strength or stiffness for the application.
Why are standard bend angles important?
Standard angles like 90 and 180 degrees require standard tooling. Non-standard angles require custom dies or more setup time, which increases cost.
How do I know if my design is manufacturable?
Review your design with an experienced fabricator. They can identify issues with tooling, assembly, and material selection before production begins.