Use this checklist to audit flat patterns before release. It covers geometry, bend deductions, material offsets, and tolerances to catch errors before the press brake.
- Review every bend line and angle against the CAD model before release.
- Check that bend deductions and set-back values match the material and tooling.
- Confirm flat pattern offsets and parting lines match the finished part.
- Use a pattern audit to catch geometry and tolerance errors early.
- Verify that the flat pattern matches the drawing and material thickness.
Why Verify the Flat Pattern Before Release
A flat pattern is the blueprint for the press brake. It tells the operator where to bend, how deep to cut, and where the part will unfold. If the flat pattern is wrong, the finished part will be wrong. The press brake cannot fix a bad pattern. It only follows the data given to it.
This checklist is a pattern audit. It is not a replacement for CAD simulation or machine setup. It is a final review of the 2D file that goes to the shop. A quick check here saves hours of rework, scrap metal, or a customer complaint.
Run this list every time a new part is released, even if the part is simple. Errors hide in small details: a missing bend line, a wrong angle, or a tolerance that is too tight for the material.
Section 1: Geometry and Outline
Check the outline first. The flat pattern must match the drawing exactly.
- Compare the flat pattern outline to the finished part drawing. Look for missing notches, holes, or edge features.
- Verify that all dimensions are in the correct units. Mixing millimeters and inches is a common mistake.
- Check that the parting lines are straight and clean. Jagged lines create burrs and confuse the cutting tool.
- Confirm that the flat pattern does not extend beyond the sheet size. If it does, the part will not fit on the material.
Red flag: The outline looks like a 3D shape, not a 2D layout. If you see depth, it is not a flat pattern. If the part has a complex shape, the flat pattern should show the unfolded geometry with clear bend lines.
Section 2: Bend Lines and Angles
Bend lines are the heart of the flat pattern. Each line must be clear, labeled, and correct.
- Check that every bend line is visible in the flat pattern. Do not rely on color or hidden layers.
- Verify that each bend angle matches the drawing. A 90-degree bend must say 90 degrees. A 45-degree bend must say 45 degrees.
- Confirm that the bend direction is marked. Up and down bends must be clear.
- Check that the bend lines are perpendicular to the material edges where required. Some bends run parallel, but most run across.
Red flag: A bend line without an angle. If the angle is not written, the operator will guess. Guessing is how parts fail.
Section 3: Bend Deduction and Set-Back
This is where most flat patterns break. Bend deduction is the amount of material that disappears in the bend. It depends on the material thickness, the bend radius, and the bend angle.
- Check that bend deduction is applied to every bend. If the flat pattern is drawn in CAD, the software should do this. If it is drawn by hand, the engineer must calculate it.
- Verify that the set-back values match the bend radius. Set-back moves the bend line in the flat pattern so the finished angle is correct.
- Confirm that the bend deduction is consistent across all bends. If one bend uses a different deduction than another, the part will not close properly.
- Check that the material thickness used in the calculation matches the actual sheet thickness. A 1.5 mm sheet is not the same as a 1.6 mm sheet.
Red flag: The flat pattern looks too small. If the finished part is missing length, the bend deduction was too high. If it is too long, the deduction was too low.
A table helps here. It shows how bend deduction changes with material thickness. This is not a substitute for machine setup, but it gives you a sense of scale.
| Material Thickness | Typical Bend Radius | Expected Deduction per Bend |
|---|---|---|
| 0.8 mm | 1.0 mm | 1.5 to 2.0 mm |
| 1.2 mm | 1.5 mm | 2.0 to 2.5 mm |
| 1.6 mm | 2.0 mm | 2.5 to 3.0 mm |
| 2.0 mm | 2.5 mm | 3.0 to 3.5 mm |
Use this table as a sanity check. If your calculated deduction is far from this range, re-check your inputs.
Section 4: Tolerances and Fit
Tolerances on a flat pattern are different from tolerances on a finished part. The flat pattern must be cut and bent to a tolerance that allows the part to fit.
- Check that all critical dimensions have a tolerance specified. Do not leave dimensions without a tolerance.
- Verify that the tolerance is realistic for the press brake. Press brakes have a limit. A tight tolerance on a long bend may not be achievable.
- Confirm that hole positions are offset from the bend lines. Holes too close to a bend line will crack or move during forming.
- Check that the flat pattern tolerances match the finished part tolerances. If the finished part needs a 0.5 mm tolerance, the flat pattern must be tighter to allow for bending variation.
Red flag: A tolerance that is tighter than the machine can hold. Do not specify a tolerance that the press brake cannot achieve. It will cost you in rework.
Section 5: Material and Edge Preparation
The flat pattern must account for the material it will be made from.
- Check that the material thickness is written on the flat pattern. Do not assume the thickness.
- Verify that the grain direction is marked. Some metals have a grain that affects bending.
- Confirm that the edge finish is specified. A burr on one edge and a clean edge on another can affect assembly.
- Check that the flat pattern includes any deburring or finishing notes. A flat pattern is not just a shape. It is a set of instructions.
Red flag: No material callout. If the material is not written, the shop will use the wrong sheet. That is a scrap part.
Section 6: Pattern Audit and Documentation
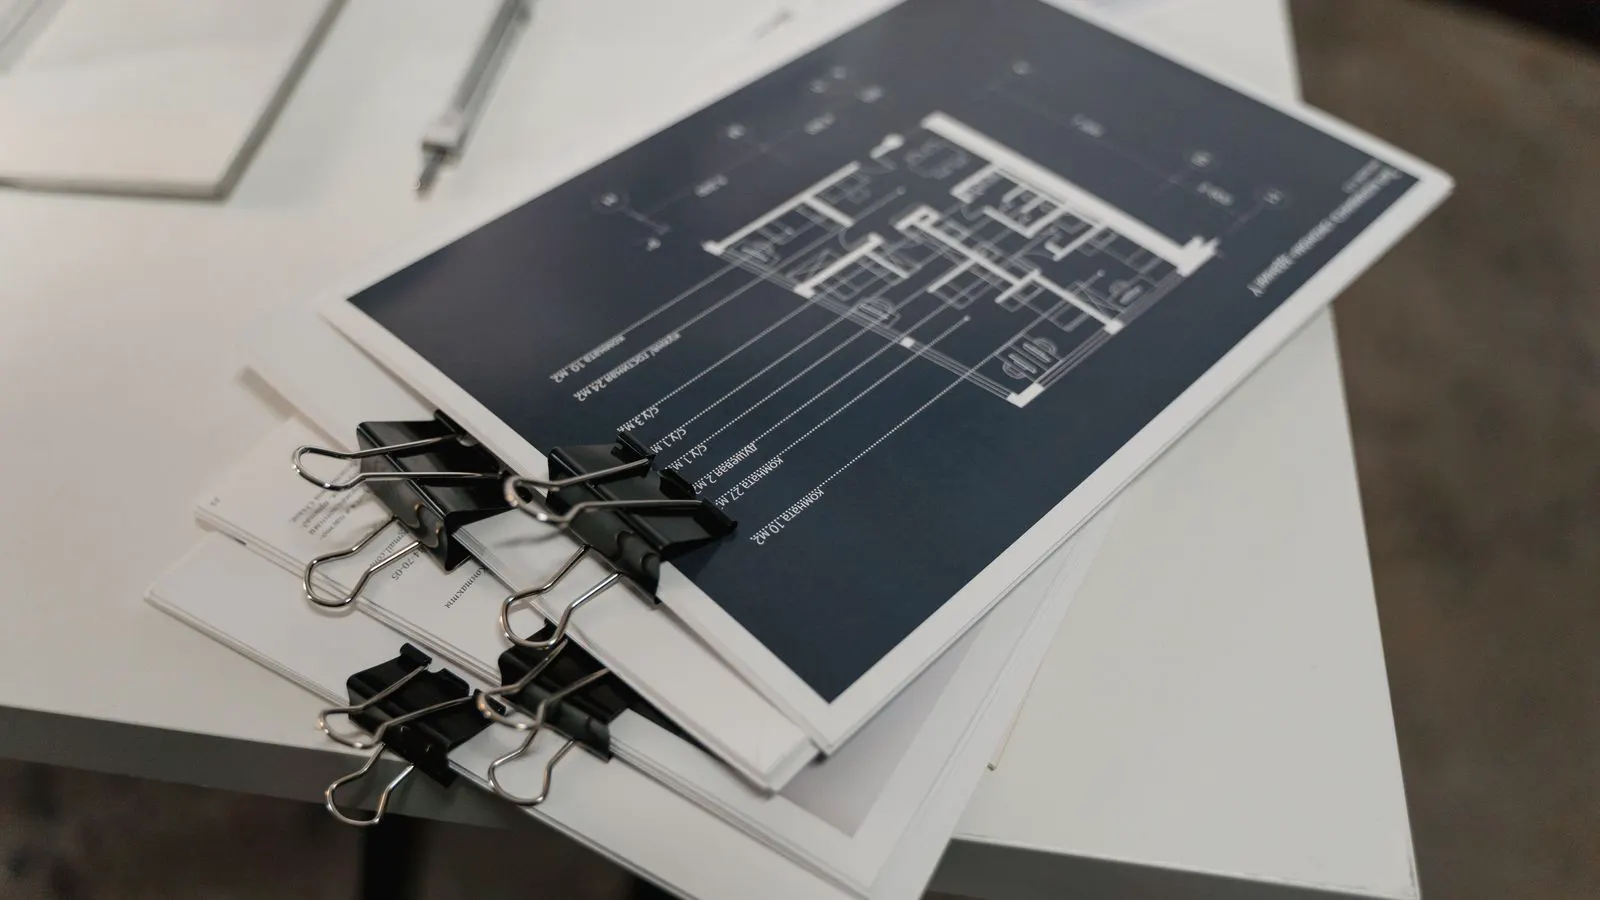
The final step is a pattern audit. This is a formal review of the flat pattern by someone who did not create it.
- Print the flat pattern. Do not audit only on screen. Paper shows errors that are hidden in software.
- Check the title block. Part number, revision, date, and scale must be correct.
- Verify that the flat pattern matches the CAD file. If the flat pattern was generated from CAD, export it and compare it to the CAD model.
- Sign and date the pattern audit. This creates a record that the part was reviewed before release.
Red flag: No revision history. If the part was changed, the flat pattern must be updated. If it is not, the shop will make the old part.
Section 7: Common Mistakes to Avoid
Some mistakes are so common they become invisible. Watch for these.
- Missing bend lines. The pattern looks right, but one bend is gone. The part will not fold.
- Wrong angle. A 90-degree bend is marked as 85 degrees. The part will not close.
- Incorrect bend deduction. The flat pattern is too small. The part will not fit the mating part.
- Missing hole offsets. Holes are too close to the bend line. They crack during forming.
- No material thickness. The shop uses the wrong sheet. The part is too heavy or too light.
These mistakes are not rare. They happen when a pattern is rushed. A five-minute audit catches them.
Final Check
Run this checklist before you release the flat pattern. It is not a long process. It is a set of checks that you can do in a few minutes. If you find an error, fix it now. If you do not find an error, sign the pattern and send it to the shop.
The flat pattern is the last chance to fix the part before it hits metal. Use it.
Frequently asked questions
What is the most common error in a flat pattern?
A missing bend line or an incorrect bend angle. Both cause the part to fail to close or to fold incorrectly.
Do I need to check bend deduction if I use CAD?
Yes. CAD software calculates bend deduction, but it can be set to the wrong material thickness or bend radius. Verify the output.
How tight can I make a tolerance on a flat pattern?
Depends on the press brake and the material. For thin sheet, tight tolerances are easier. For thick sheet, allow more variation.
What is a pattern audit?
A review of the flat pattern by a second person. It checks for geometry, bend lines, tolerances, and documentation errors.
Can I skip the pattern audit if the part is simple?
No. Simple parts still have bend lines, holes, and edges. Errors hide in simple parts because they look obvious.